Table of Contents
*This post may contain affiliate links. As an Amazon Associate we earn from qualifying purchases.
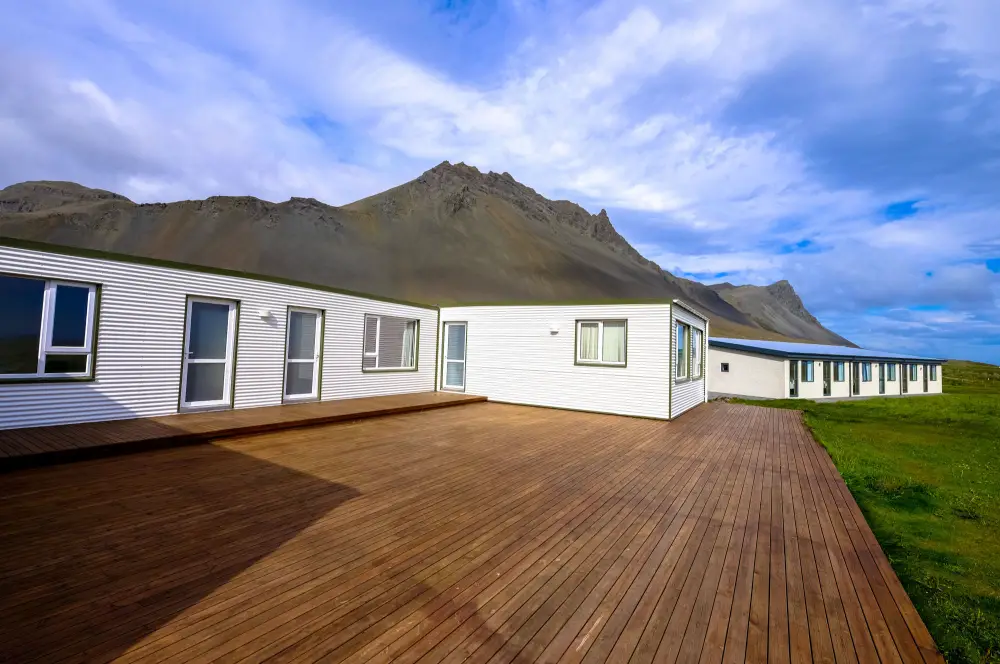
Building a deck is just like adding a new room to your home. This outside space could be ideal for dining, entertaining, or simply relaxing at the end of the day. The great thing about building a deck is that you can design your own space in function of your lifestyle and budget. Let’s take a look at the planning process, explore your options, and go over different construction methods.
Choosing Your Materials
The best decking material depends on what your budget is and on how much time you are willing to spend on maintenance. The architectural style of your home is another consideration since you might want a deck that matches the other wooden accents on the exterior of your home.
These are the most popular materials:
- Pressure-treated lumber. This lumber mostly comes from pine wood. Even though the wood is treated, there are no harmful chemicals.
- Composite decking. This material is a mix of wood fibers and recycled plastic. It can withstand any weather condition and there is very little maintenance required. Trex decking is a popular brand, but Azek or TimberTech are also worth considering.
- Plastic lumber. This lumber is made entirely from recycled plastic. There is no need to stain or sand the material and you won’t have to worry about insects or rot.
- Vinyl-capped composite. This option is similar to a composite material, but the planks are covered with a vinyl layer to prevent moisture absorption.
The most common dimensions you will find are 2×6 and 5/4×6”. Some sellers will also carry 2×4”. Plastic lumber and vinyl-capped composite are a little more expensive than pressure-treated and composite lumber, but you won’t have to stain these materials.
If you decide to build a deck with composite or pressure-treated lumber, you will have to stain your deck once every two years and might have to sand the planks before building your deck. You will need to pressure wash your deck once a year regardless of the material you chose.
If you are willing to spend more on materials, these are the options you should consider:
- Redwood. This wood has a rich color and you can find planks without any knots if you shop for B-grade redwood.
- Cedar. This is a fairly affordable alternative to redwood. Look for an architect clear grade to avoid knots.
- Tropical woods. Woods like cumaru, tigerwood, or mahogany are more resistant to insects and rots and not much more expensive than cedar or redwood.
If you choose any of these woods, you will need to stain your deck and apply a wood preservative once every two or three years besides power washing your deck every year.
Designing Your Deck
There are many deck designs available online and purchasing plans would be a good option if you are new to DIY projects. However, you can easily make your own vision come to life once you answer a few questions:
- What is the size and shape of the area that the deck will cover?
- Will you build a ground level deck or an elevated one?
- Is the ground under the deck even and flat or will have to build on a slope?
- Will there be any additional features, such as stairs, railing, seating, or shading?
- Do you want to build a free-standing deck or attach it to the house?
- Will you place posts in the ground or pour a slab of concrete to use as a foundation for your deck?
There are some online tools you can use to play with different ideas and create a unique design. If you are new to construction projects, your best bet is to stick to a simple rectangular shape and to slightly elevate your deck to allow for proper ventilation.
Your Construction Project
Ideally, you should start by establishing your budget and determining which decking material makes the most sense for you. Your next step should be to make sure you have all the tools you will need.
Use this checklist to get ready for your construction project:
- Tape measure
- Hammer and nails
- Drill and bits
- Level
- Landscaping stakes and string
- Paint
- Concrete mix and concrete tube form
- Circular saw
The materials you will need depend on the design you decide to create. This is what you would typically need for building a deck, but the quantities will vary:
- 5/4×6” planks for the surface of the deck.
- 2×10” pieces to use as beams, caps, and brackets.
- 4×4” pieces to use as posts, anchor bolts or j-bolts and post brackets.
- 2×8” pieces for the framing with joists and brackets.
- 2×4” planks for bracing across the beams.
- You might need additional items such as stairs or railings.
- You can add a pattern board across your deck to have two or more sections covered in 5/4×6” planks.
Start With Your Layout
Use the landscaping stakes and the string to create a layout of the area where you will build your deck. Start by placing two stakes as close to your house as possible and the tape measure and the level to place the other stakes.
Mark the corners of your layout with some paint since this is where the posts will go if you are building an elevated deck.
Adjust the height of the string so that it reflects the height of the finished deck. Make sure the deck won’t be in the way of any opening doors.
If you are building a ground level deck, you will need to remove the grass and lay a tarp on the surface that will be covered by the deck. Otherwise, you can move on to building your frame.
Build The Posts And Beams
You can skip this part if you are building a ground level deck. If you want an elevated deck, you need to start by installing your posts:
- Dig holes that go at least six inches deeper than the frost line in your area. Renting a power auger will make this step a lot easier. Note that you should call local utility companies to make sure there aren’t any lines in the way.
- Use your tape measure to make sure the holes are deep enough. You can then pour enough concrete in the post holes to create a six-inch high base at the bottom of the holes.
- Place the concrete tube forms in the holes. You will probably have to cut them to the right height.
- Fill the tube forms with concrete, and place the anchor bolts in the center.
- Wait for the concrete to dry, mount the brackets on the anchor bolts and install the posts.
- You can then measure and cut the posts with the circular saw.
Your next step should be to measure and cut the beams. The beams should rest across the posts and be secured thanks to caps and brackets.
You can make the beams sturdier by installing some 2×4” pieces for bracing. You would nail these planks diagonally between the beams and the posts for added support.
Build The Frame And Decking
Think of the frame as a box that will support your deck. You can easily find tutorials on how to build a deck that will show you different techniques for assembling the frame, but creating a rectangular box with 2×8” pieces that run perpendicularly to your home is your best option if you are new to DIY projects.
It is possible to use a hammer and nails for this part of the construction project, but you will find that it is a lot easier to use a drill.
Follow these steps to build the frame for your deck:
- Start by attaching the rim piece that will run along the wall of your home. Lay it across the beams and secure it to the beams in each end with some brackets.
- You can then install the bracing pieces that will run perpendicularly to your home. Use your level and tape measure to make sure they are straight and evenly spaced. You will need to secure the bracing pieces to the plank that is parallel to your house with brackets and add joists for the decking floor on each bracing piece.
- Finish the frame by attaching the outer rim piece. Add brackets at each intersection with the bracing pieces perpendicular to your house.
Build The Decking Floor
Once the frame is finished, you can lay the 5/4×6” planks across the bracing pieces. Attach these planks on the joists you previously installed. You should only need a hammer and nail for this part of the construction project.
If the 5/4×6” pieces aren’t long enough to cover the entire deck, you will have to install a pattern board perpendicularly to your home so that you can install the decking floor in two different sections.
You can then add the finishing touches, such as the railings and stairs. Now would be a good time to stain your deck and to apply a wood preservative.
Conclusion
Building your own deck allows you to design this outdoor space entirely by yourself. You can choose to create a simple deck with a square or rectangular shape or be more creative with your design depending on how comfortable you are with DIY projects. Establish a budget and compare different materials before getting started.