Table of Contents
*This post may contain affiliate links. As an Amazon Associate we earn from qualifying purchases.
Many homeowners come to realize that they need to add or replace their insulation to lower electric or fuel costs. In the past, insulated homes much less than those built more recently. You’ll find that in either case, adding additional product to your home can reduce your electric bill.
In newer homes, your builder can provide information on what they installed and where. If your home is older, you can get a professional energy audit to find out where your home most needs additional attention. Alternatively, you can perform an energy audit yourself, or simply inspect the insulation yourself.
You’ll need to know where insulation has already been added, what type was used, and its R-value. Professionals use R-value to grade insulation’s resistance to heat penetration. The depth and thickness can give you an idea of its efficiency, but in cases of blown-in product or radiant sheets, experts consider other factors.
Checking The Insulation in Your Attic
The attic is usually the first place to check as it’s the most often insulated area. It’s also relatively easy to check.

Determine the type of insulation you have to figure out its R-value:
- If you find loose fibers that are lightweight and yellow, pink, or white, it’s likely to be blown-in fiberglass. The R-value for this type of insulation is 2.5 times its depth.
- Loose fibers that are dense and gray or white, perhaps with black specks, is likely rock wool. Calculate the R-value at 2.8 times its depth.
- Loose fiber insulation that contains small gray flat pieces (newsprint) is probably cellulose, with an R-value of 3.7 times its depth.
- Vermiculite or perlite is a loose, light-weight insulator that provides an R-value of 2.7 times its depth.
- For fiberglass batt pads, yellow, pink, or white, the R-value is 3.2 times its depth.
You can use the handy calculator provided by Owens Corning to determine what R-value you’ll need to achieve in your attic for your region. Enter your zip code and other information to determine the recommended insulation throughout your home.

Checking Your Current Wall Insulation
You can check your current installation by accessing it through an electrical outlet on an exterior wall. Make sure you turn off power at the circuit breaker before removing the cover plate.
- Use a flashlight to see if there is insulation and how thick it is.
- Remove a small portion and determine the type installed.
- If possible, measure the thickness.
- Note any water damage or mold on the material.
- Repeat with outlets on remaining exterior walls to ensure they’ve all been insulated adequately.
Best Types of Insulation for DIY Installation
Blanket / Batt Rolls
These are the thick sheets or rolls of insulating material commonly found in most home improvement stores. These are perfect for DIY projects, because they’re easy to cut to size. Generally,manufacturers use fiberglass, rock wool, or plastic or natural fibers. They can be installed in unfinished walls, floors and ceilings. In addition, they can be cut and fitted between joints, studs, and beam.
Foam Board Insulation
Foam board insulating sheets are also appropriate for homeowner installation. These polystyrene or polyurethane sheets provide high insulating value despite their thinness. In home interiors, install foam board underneath a minimum of ½ inch drywall board. Furthermore, on exteriors, the foam board must be covered with weatherproof facing before the exterior siding is installed. Foam board can be used in unfinished interior walls, floors and ceilings, or unvented low-slope roofs.
Additionally, foil-faced foam board provides radiant insulation, by reflecting heat. It can keep homes cool in the summer or warmer in the winter. Install the reflective side in the direction you want the heat reflected. You may even prefer to reflect the heat to the exterior on south-facing walls, and toward the interior on north-facing walls. Additionally, this product works most efficiently if there is an air gap on the reflective side.
Even without foam board, homeowners can use foil-faced paper or film to create a radiant barrier.
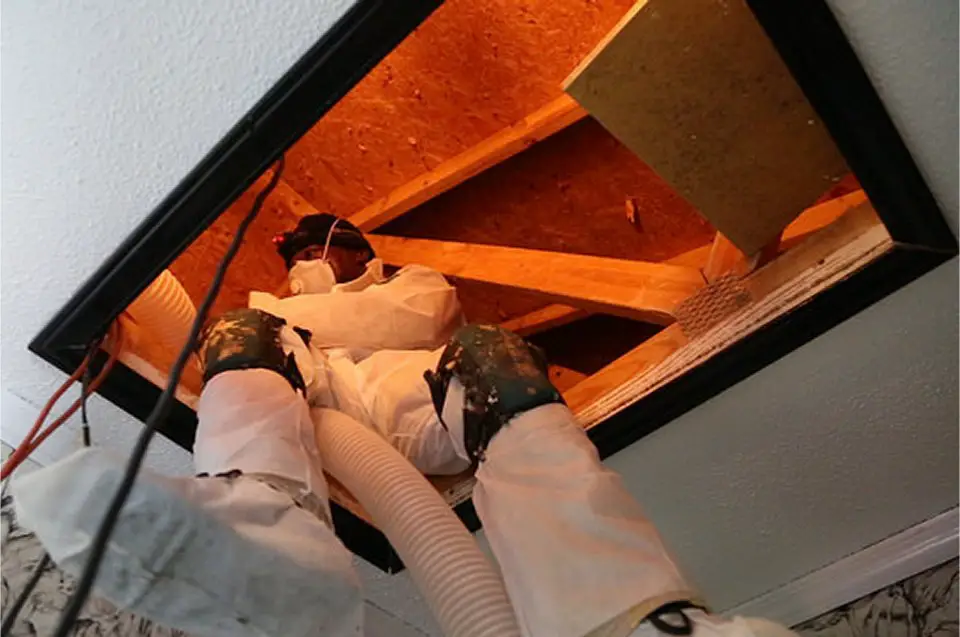
Insulation for Blown-in Installation
Although Fiberglass provides the lowest R-value per depth, blown-in fiberglass insulation has some distinct advantages. This loose material is blown into place using special equipment that is available to rent from home improvement stores. Homeowners can use it for adding more insulation to already finished spaces. Use it in oddly shaped areas and around obstructions such as ducts, pipes, conduit, etc. Most importantly, use blown-in insulation in these areas knowing the obstructions won’t affect its efficiency.
Loose Cellulose Insulation is also available for blown-in installation, and can provide even higher R-values than fiberglass. It can also be more DIY friendly. Homeowners can purchase it quite cheaply, because it’s made of environmentally friendly recycled newspaper. Furthemore, cellulose is easier on the skin and the lungs.
Once the arena of professionals only, DIY homeowners can complete the job for much less than a contractor. And some estimate added extra blown-in insulation to an attic can save as much as 20 percent on heating and cooling bills.
Prep Steps for DIY Blown-in Insulation
- Measure the space: Loose product comes in bags, and each covers about 65 square feet up to t10 inches deep.
- Determine how many bags you need to buy. Calculate the number of bags to reach the minimum recommended R-value for your region
- Purchase insulation and rent machine. Some sellers will provide the equipment for free if you are purchasing a certain number of bags.
- Seal small air leaks. Use spray foam to seal small gaps around plumbing pipes, electrical conduits, and wires. Seal all the way around with expanding foam. Check for gaps around light fixtures or any other perforations.
- Install soffit vent chutes to prevent the loose fibers from blocking ventilation openings above soffits at the edge of the roof.
- Cover the tops of any recessed lighting installed in the ceiling below the attic. Use metal flashing or wood to create a fence around the backs of these light fixtures to prevent fibers from touching them.
- Use protective gear, including eye protection, work gloves, and a respirator. Wear a long sleeve shirt buttoned all the way up to prevent skin irritation.
Foam Insulation
Foam in insulation is also a relatively easy DIY homeowner project. It can be somewhat messy, however, because it’s so sticky. This polyurethane material has a few advantages over blown-in insulation. One of which is that it can seal as well as insulate. Additionally, you only need one or two inches of spray foam insulation to achieve the recommended R-value. Use foam insulation in existing walls, new walls, and attic floors.
Homeowners looking to decrease their energy costs as well as reduce their impact on climate change should consider their existing home insulation. Adding and replacing damaged insulation is less expensive than you’d think, when you’re willing to do the work yourself. The cost can often cover itself with lower heating and cooling bills pretty quickly. And its efficiency will increase the value of your home.
Featured Image: CC0 Public Domain by U.S. Dept of Agriculture via Flickr.