Table of Contents
Know When to Replace Your Fluorescent Light Ballast
*This post may contain affiliate links. As an Amazon Associate we earn from qualifying purchases.
Fluorescent lights are an energy-efficient alternative to traditional incandescent bulbs, but can become a nuisance if they start flickering halfway through the day.
Often, the reason for flickering lights is a failing bulb.
But sometimes the ballast mechanism itself is the culprit. The good thing is that fluorescent light ballasts are easy to test and replace.
What is a Fluorescent Light Ballast?
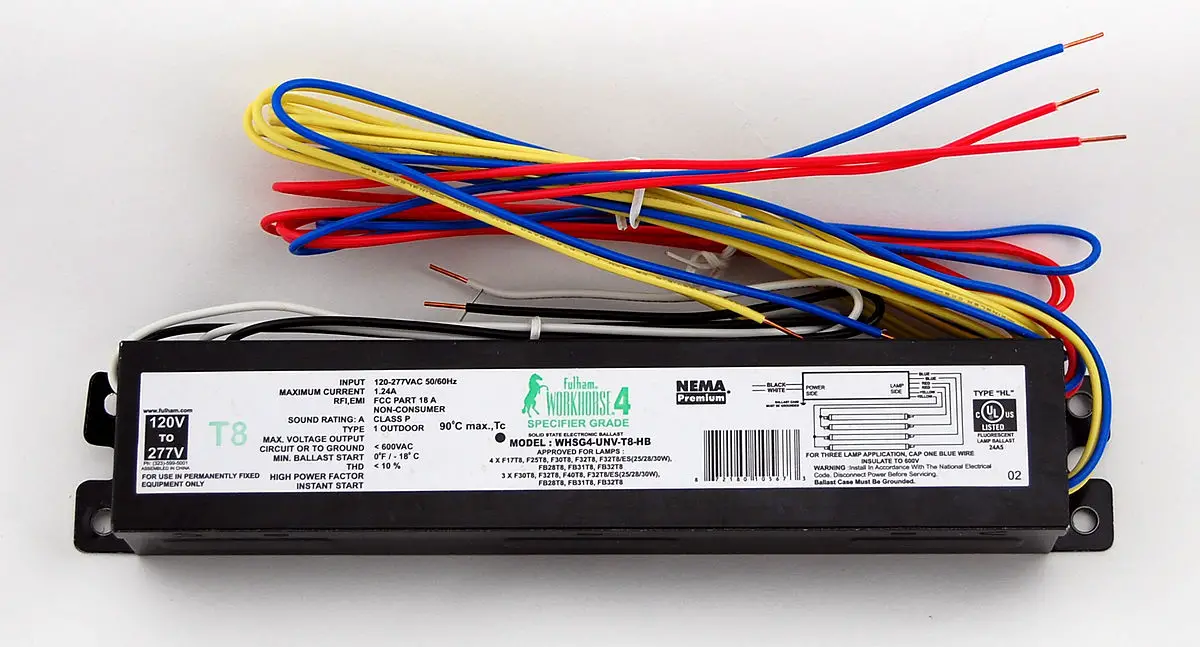
The ballast in a fluorescent lighting system is the mechanism that regulates the current to the lamps and provides the correct voltage needed to start the lamps.
Without this ballast, there would be nothing to regulate the increasing current and the bulb would burn out in seconds once the lamp was turned on.
Older ballasts are called magnetic ballasts. They rely on incremental regulation of the electricity running through the lamp. If your fluorescent lamp buzzes or hums, it’s likely because of this older ballast model. This is because the current flows through copper wire coils before it moves on to the light bulb.
When the current hits the copper, it creates a magnetic field that stops most of the current that would have continued to flow to the bulb. This way, only small increments of current actually continue to the bulb and the light doesn’t overheat and burn out.
Newer ballasts are electronic, which allows it to put out multiple electric frequencies without needing to alter the input voltage. The advanced electronics in a modern ballast regulates the current more effectively, reducing both the flicker and the noticeable hum that you usually associate with fluorescent lights.
Three Different Types of Electronic Ballasts
Electronic fluorescent ballasts generally are manufactured with one of three operating modes: rapid start, programmed start, and instant start.
Rapid Start Ballasts

A rapid start ballast relies on a preheating method that keeps the mechanism always primed to instantly light the bulb when the switch is turned on. The problem with this type is that the lamp will have trouble turning on if it is sitting in sub 50-degree climates. So if you’re installing a fluorescent light in a walk-in freezer, this is not the most reliable ballast mechanism for the job.
Programmed Start Ballasts
Programmed start ballasts are the usual choice if your lights are connected to a motion sensor. Motion sensors and programmed start ballasts are a more energy-efficient option for office lighting, as they can maximize the number of lamp starting cycles while conserving energy.
Instant Start Ballasts
Instant start ballasts are not heated before the light is switched on. These types of ballasts have a high starting voltage that help start the discharge across the unheated electrodes. This option is more reliable than rapid start ballasts because you can start your lamp at lower temperatures.
How Do You Know When It’s Time to Change the Ballast?
Some of the most obvious signs of ballast failure are rapidly flickering or buzzing lights. The bulbs may be dim when they shouldn’t be, or change colors.
If you see these things happening, then it may be time to change the ballast.
A good way to check if the ballast is going back is to first replace the bulbs in the fixture. If you install new bulbs and your lights are still flickering, then it’s time to look at the ballast itself.
Testing Your Fluorescent Light Ballast

If you need to test your fluorescent light ballast, you can can do so pretty easily. All you need is a phillips or slotted screwdriver and a volt-ohm meter.
First, disconnect power to the light by unplugging it or shutting off power to the room through the breaker box. Wait a few minutes to let any stored current in the ballast to dissipate, then remove the bulb from the fixtures.
You can simply pull U-shaped bulbs from their sockets, as they are secured with tension springs. You’ll need to unscrew straight fluorescent bulbs to release them from the sockets.
Be sure to carefully store your bulbs away from your workspace so they don’t get broken.
If the ballast isn’t already exposed, remove the ballast cover from the fixture using the screwdriver. Double check the cover to make sure there isn’t any oil leaking from the ballast. If there is oil present, then you’ll need to replace the entire ballast, as the internal seal has been damaged by excessive heat from the light.
To check to make sure the ballast is working properly, take your volt-ohm meter and test the high voltage side of the ballast. You’re looking for continuity between the wires and the sockets. Turn your multimeter to the “ohms” setting and place one probe in to the wire connector that holds the white wires together. Then touch the other probe to the ends of the blue, red, and yellow wires leading from the ballast.
If the ballast is bad and needs to be replaced, the needle on the multimeter won’t move or the screen will read that there isn’t a continuous circuit. If the ballast is still good, you’ll see the needle move or an indication that the circuit is continuous. Make sure to check all the wire pairs and see that they are positive. If there are, check the low voltage side.
To test the low voltage side of the transformer, remove the nuts from the black and white wire that are connected to the power feed side of your ballast. Touch the probes of your multimeter to the black and white wires. If it shows a continuous circuit, then your ballast is fine and doesn’t need to be replaced.
If you’ve tested both sides of the ballast and you’re still having trouble with flickering lights, then it’s possible a wire is loose in the bulb sockets themselves. Check to make sure all the connections are solid and then reassemble your light.
Replacing Your Failing Fluorescent Light Ballast
If you need to replace your ballast after testing it, keep the electricity off to the fixture and remove the ballast cover if you haven’t done so already.
Depending on the type of cover, you may have to unscrew the bolts holding it in place. Once you’ve removed the cover, snip the old wiring several inches from the end of the ballast with side-cutting pliers or wire snips. Make sure to cut all the wires that connect to the old ballast.
Once you’ve disconnected the wiring, unscrew the mounting hardware and drop the old ballast from its mounted position. Usually there will be at least two mounting nuts that you’ll need to unscrew.
It is important that you take this with you to the store to ensure you are buying a new ballast that matches the old one. You need to be sure that the new ballast has matching wiring, voltage, and current before you buy it.
Sometimes, it may be more expensive to buy a new ballast than to purchase a completely new fixture, so it’s recommended that you do a little price shopping before you make your purchase.
If you decided to replace just the ballast, mounting the new one in your fixture is pretty simple.
First, mount the new ballast with the mounting nuts, then strip the electrical wiring back about a half-inch on both the new ballast wiring and the original wiring left over from the old mount. Connect the wires with matching colors and use twist-wire connectors to ensure a solid connection.
Once that is complete, you should be finished.
Replace the cover and reassemble the light. Flip the breaker back on and test the light. If everything is done correctly, then your light should be working properly.
Old ballasts may contain PCBs or other harmful substances, so make sure to take your old one to your local recycling center for proper disposal.
Should You Replace your Magnetic Ballast with an Electronic One?
Many manufacturers are starting to phase out the bulbs that are compatible with older magnetic ballasts, so it may be a good idea to look into replacing it with the more modern electronic ones.
Additionally, magnetic ballasts are considered hazardous waste because they contain harmful substances.
If your light fixtures are mounted in such a way that would make it difficult to replace the entire fixture, then switching to an electronic ballast might be your best bet. Electronic ballasts are far more efficient and will save you plenty of money on your electric bill.
Before you buy a new electronic ballast, however, compare prices of a new ballast to a completely new fixture.
You might find that it’s easier and more cost-effective to replace the entire light fixture rather than just the ballast itself.
Troubleshooting your fluorescent light ballast isn’t as overwhelming as it seems.
All it takes is a basic understanding of how the mechanism works, and a few tools, and you’re well on your way.
So the next time your lights start to flicker, don’t worry.
Now you know how to handle it, and it won’t take long to diagnose and repair the problem.
Replacing Your Fluorescent Light Ballast Is Easy
Now that you know how to determine whether or not your fluorescent light ballast is going bad, you’ll be able to make an informed decision about whether or not you should replace it.
If it is going bad, then replacing it is easy and is something that you can do at home with just a few tools.
Featured Image: CC by SA, Dennis Brown, via Wikimedia Commons.