Table of Contents
*This post may contain affiliate links. As an Amazon Associate we earn from qualifying purchases.
Are you looking for a way to completely change the look and feel of a room or outdoor space without spending an arm and a leg? One of the easiest and most affordable ways to transform a home or an apartment is to paint the furniture you already have. Before you throw in the DIY towel, you should know that learning how to paint furniture the right way is easy! All you need are the proper supplies, techniques, and information to get started. So, what are you waiting for? Keep reading to find out how to paint furniture the right way.
Can You Paint Furniture?
You may be looking at the furniture you have now and are wondering whether or not it can even be painted or repainted. The truth is, almost every surface known to man can be painted as long as you use the proper supplies and techniques.
If you don’t use the correct materials, you’ll risk damaging your furniture, not achieving the desired results, or risk repainting every year. That being said, not using the correct techniques can be just as detrimental. Without following the step-by-step instructions below, you’ll end up with blotchy, uneven, and sometimes textured surfaces when you wanted something smooth and professional looking.
What Do You Need to Know to Paint Furniture?

Image via: Pexels
If you want to know how to paint furniture the right way, you’ll want to know a little bit of information before you get started. One of the biggest pieces of information you’ll want to know about painting furniture is that not all surfaces act the same. Believe it or not, there are many different types of paint out there that are specifically designated to painting a particular material. If you have metal furniture, look for paint that’s meant for metal and so on and so forth.
The next thing you must know in order to learn how to paint furniture the right way is your intended effect and final product. If you’re going for more of a rustic appearance, you may want to skip some of the steps that ensure a smooth and even surface. Starting with a plan is a great way to ensure you’re happy with the final product. If you’re not sure where to start we recommend looking on websites such as Pinterest to find inspiration pictures to get ideas and your creativity flowing!
What Equipment and Supplies Do You Need?
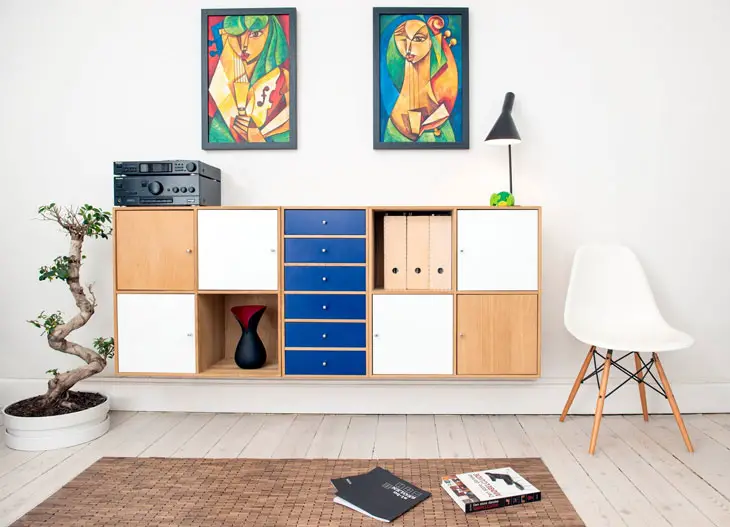
Image via: Pexels
Now that you know a little more about how to paint furniture, we can get into the equipment and supplies you’ll need to start your project. Assuming that you’re going to be painting a standard wooden surface, we recommend that you start with the following items to get the most even and professional application possible:
- Painter’s tape
- Paint primer
- Sandpaper (nothing above 220-grit)
- Oil-based paint or wood paint
- Paintbrush
It’s also not a bad idea to have a tarp or something to protect the surrounding surfaces while you paint. If you can take your furniture outside or in a garage to paint it, you can easily skip that supply. Don’t forget to wear clothes and accessories that you won’t mind getting stained or painted while you do your project.
How to Paint Furniture
You now know all of the supplies and equipment you’ll need to transform your furniture. All you have to do now is learn the step-by-step techniques to get that professional finish you’ve been striving for. Keep reading to learn how to paint furniture, below!
Step One: Prepare the Piece
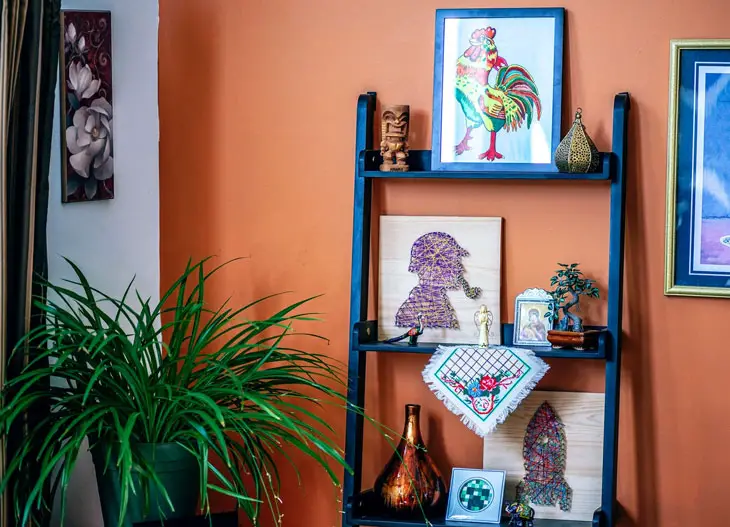
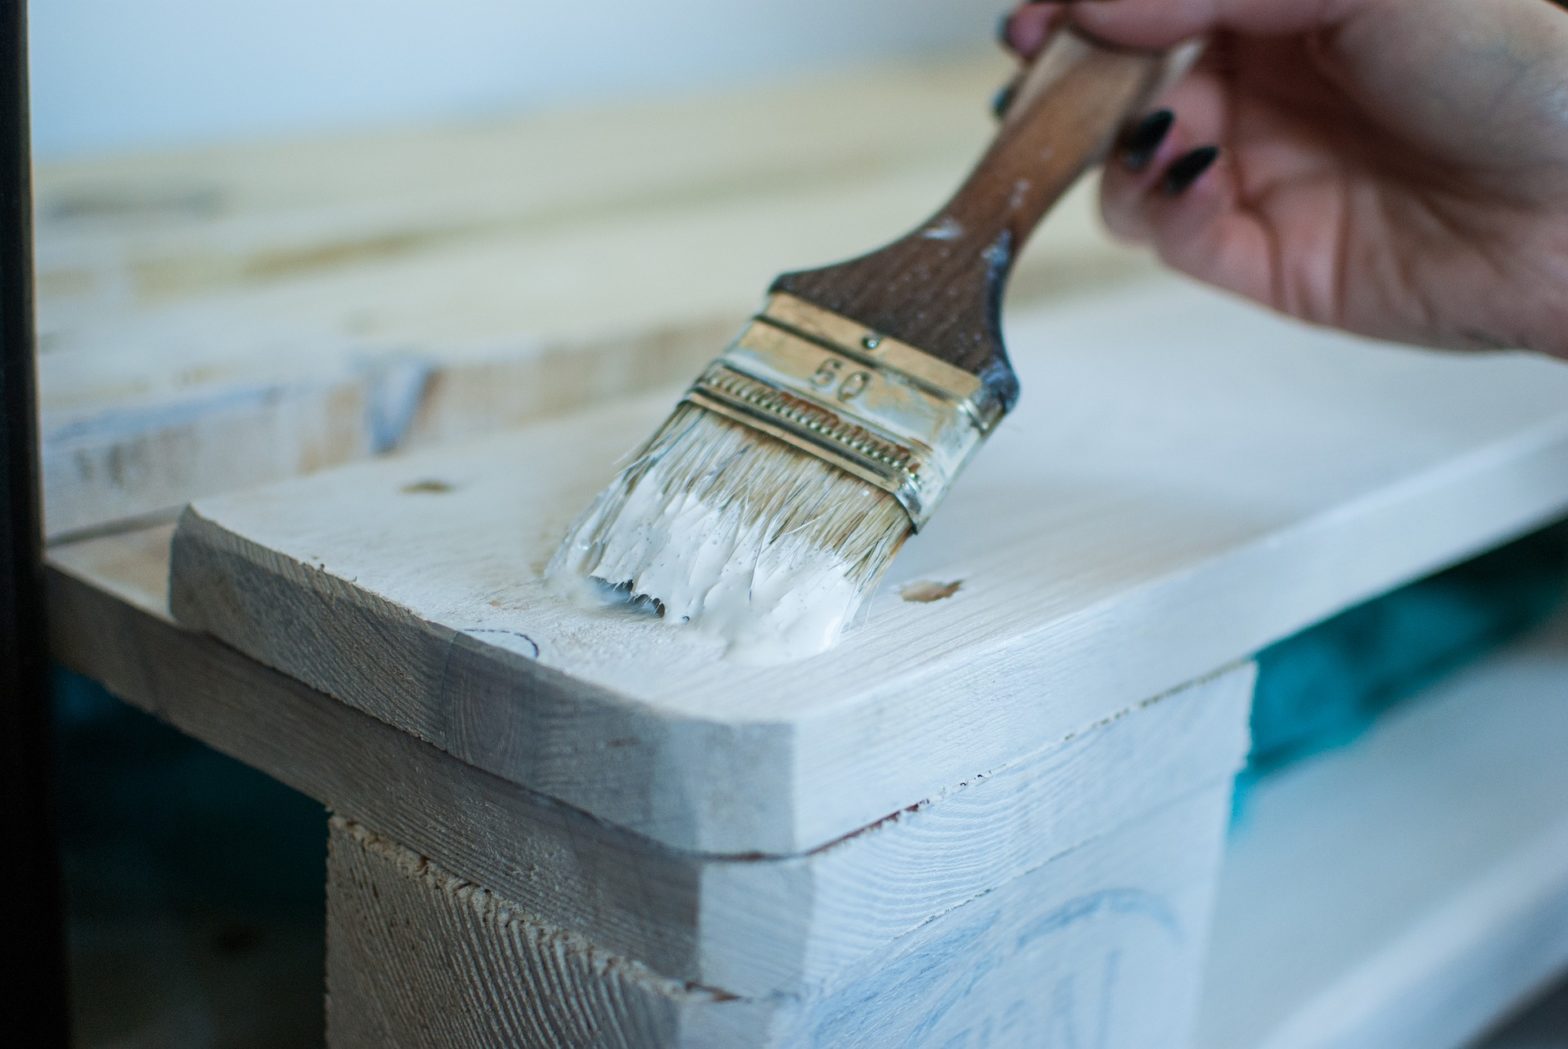
Image via: Pexels
The first step to learning how to paint furniture is to prepare your piece of furniture. Preparing the piece of furniture to be painted includes removing drawers and hardware, opening tops, and taping over the spots you don’t want to be painted. We recommend that you keep all the hardware and screws you remove in a single bag to make putting everything back together, once dried, a lot easier.
Step Two: Sand the Surface
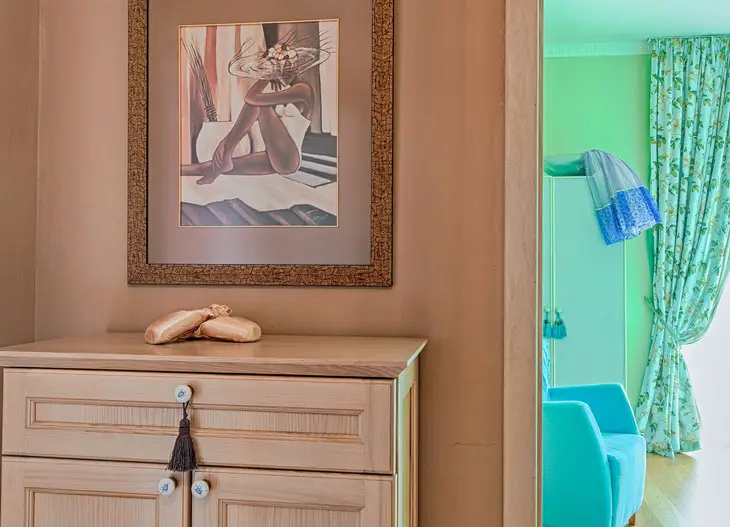
Image via: Pexels
Next on our instructions to learn how to paint furniture is to sand the surface you’ll be painting. Sanding may seem unnecessary, especially if the surface already feels smooth, but trust us when we say that sanding a surface is the key to an even finish. Sanding is also a great way to level out any dings or nicks in the surface.
Once the surface has been entirely sanded, you can wipe off the dust and get ready for the next step. This is also a great time to remove any stains with stain remover or dedicated cleaner. If you have a spot that’s particularly difficult to clean, try using a heavy-duty sponge like a Mr.Clean Magic Eraser.
Step Three: Prime and Dry
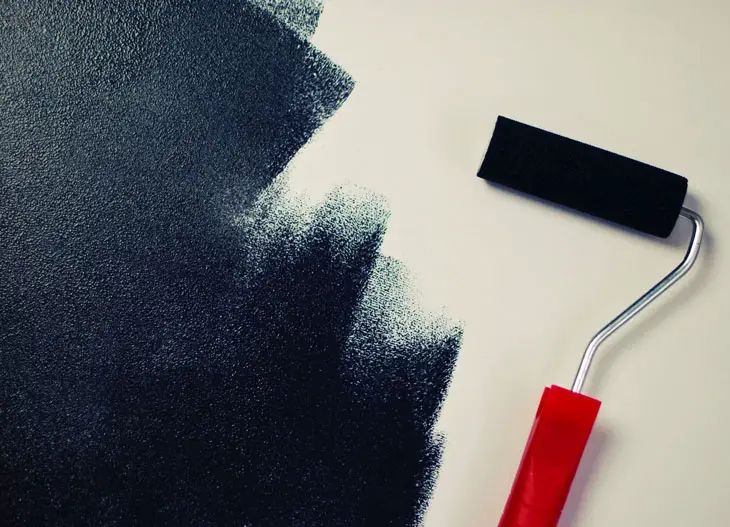
Image via: Pexels
The third step is to prime the surface that you’ve just sanded. A primer is what’s going to help prepare the surface for paint and ensure the paint has something to stick to. We find that a primer is a necessary step to ensure longevity, durability, and an even finish.
It’s important to note that many items of furniture have paint that already comes with a primer mixed in. Make sure you carefully read the instructions on the paint you’re using to ensure you’re not priming when it’s unnecessary. Plus, most paints will recommend a primer that works best with their formula if there isn’t one already mixed in or included.
Step Four: Sand and Paint
Step four is the step that many people overlook when it comes to learning how to paint furniture. It’s true what the title says, you’ll want to sand the piece again. A light sanding after priming is the step that’s going to give your furniture the professional finish it needs to look store-bought instead of home-made. Remove any raised fibers and then begin painting!
Step Five: Let Dry
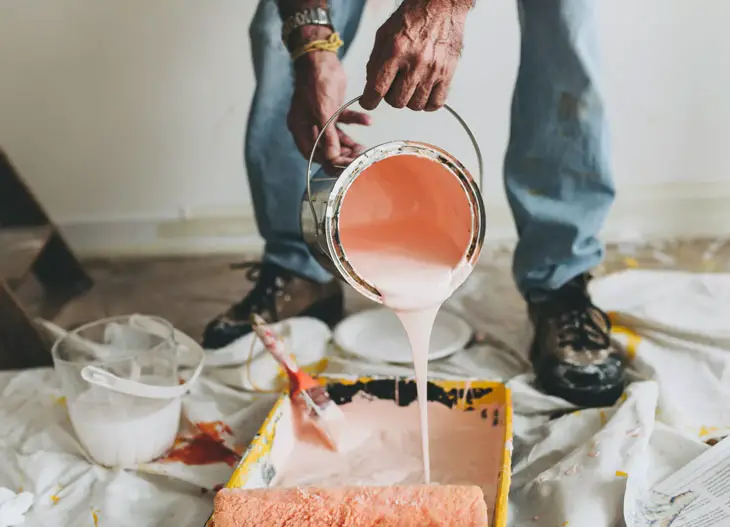
Image via: Pexels
It’s important that you let each piece dry before you try to reassemble it. Keeping everything unassembled while waiting and drying will ensure it completely covers each piece in the paint. If you see a spot that doesn’t have the desired color or results, don’t be afraid to re-coat it and begin the drying process again until you are happy with the overall color.
Step Six: Reapply
Once your furniture piece is completely dry, you can begin to put drawers and hardware back into place. This will also give you a chance to assess how everything looks together and, again, repaint or re-coat if necessary.
Step Seven: Enjoy
All you have to do now is enjoy your new furniture. We know you’ll be surprised at just what a little coat of paint can do to change an environment. The best part is, learning how to paint furniture takes less than ten steps which means you can always repaint and changes things if you’re not happy with the final result.
Top 10 Painting Tips
You now have the insight you need to use the proper techniques and supplies to paint furniture the right way. That being said, there is always more you can learn and tips you can use to make this easier and more effective. If you’re interested in perfecting your techniques and tricking everyone into thinking you’re buying new furniture every season, keep reading. Below we’ve put together a list of 10 of the top painting tips we learned ourselves and from seasoned professionals. Become a professional by reading the tips below:
Tip One: Top Down
One of the most surprising tips we learned from experience is to paint starting from the top down. It can be tempting to sit on the ground and work your way up, especially when painting large pieces. The reality is, when you paint from the top down, it will cover any drips that happen as you paint up as you paint downward. Keeping your final coat in mind will help ensure a spot-free and run-free finish.
Tip Two: Sand Is Always Necessary
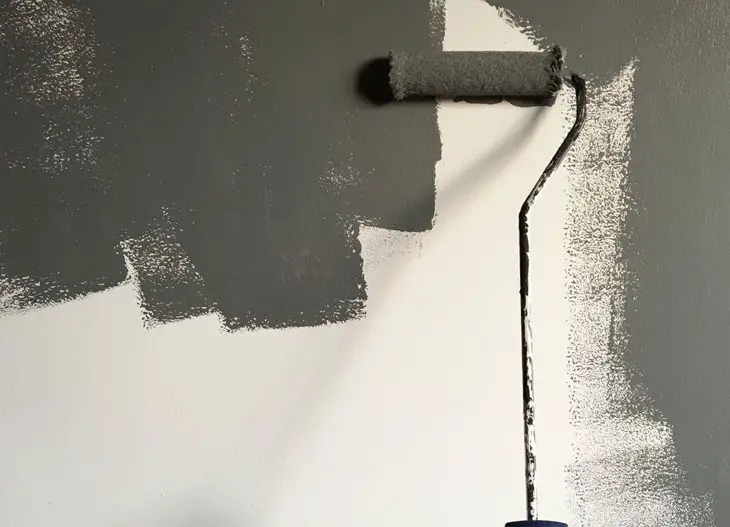
Image via: Pexels
We know we already covered the importance of sanding, but we have to stress it once more in our tips section due to the sheer number of paints we see claiming no sanding necessary. The general rule of thumb is, sanding is necessary if you want to prime and priming, as we learned, is essential to longevity. If the paint you are using says no sanding, we recommend you sand anyway for the best finish.
Tip Three: Towels and Paper Towels
As we mentioned in our step-by-step tutorial, you will want to wipe down the surface of your furniture after sanding and remove any residue before painting. One of the biggest mistakes we see is people using paper towels or fibrous towels to wipe down the sanded surface before painting. It’s a mistake to use materials like paper towels on a sanded surface due to the fact that it can be easily snagged and leave behind fibers and pieces that will affect the finish of your paint.
Tip Four: Protect It
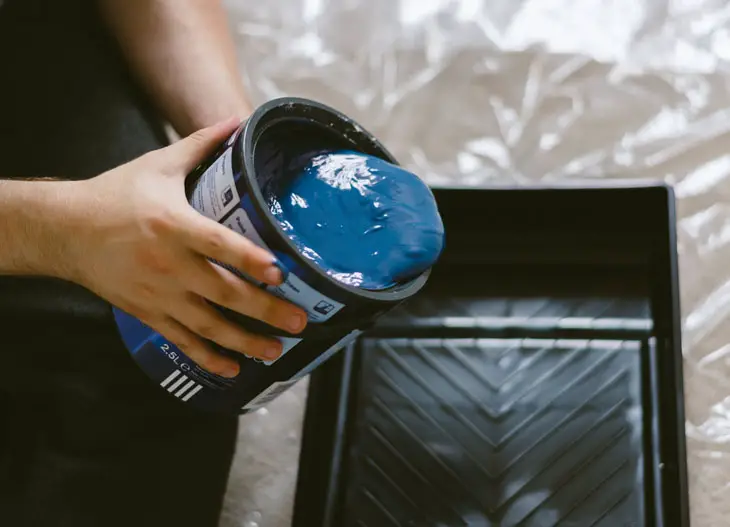
Image via: Pexels
If you’re repainting a furniture piece that has the potential to get wet, you’ll want to protect it by adding a final coat of gloss. There are a number of different types of water-resistant gloss coatings available on the market. Just make sure you allow protective coatings a full 72-hours to dry before moving or reapplying the hardware and drawers. A protective coating is not necessary but is a great way to increase the durability and longevity of your item. Just make sure you save this coating for the very end because it can be more difficult to paint over or add paint on top of.
Tip Five: Mind the Sun
Just like you’ll want to protect the surface if it’s bound to get wet, you’ll also want to protect your furniture surface if it’s going to be in the sun. This is especially true if you live in a warm climate or intend your furniture piece to sit outside. Believe it or not, there are a number of paint types available that have features such as anti-glare and anti-fade for extreme and extended exposure to the sun.
Tip Six: Features Matter
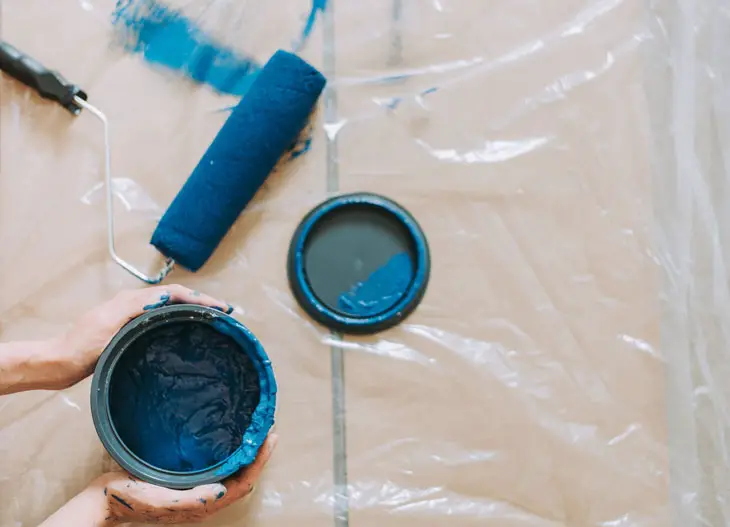
Image via: Pexels
When you take a look at what paint to buy for your furniture, keep an eye out for the special features it may have. If you’d like the surface of your table top to be non-slip, that’s an option available to you! Think about the features that would make the paint better for your furniture and shop based upon these parameters for the best results. If your skeptical in any way about a product’s features, always take a look at the customer reviews to gain the most unbiased insight possible.
Tip Seven: Use Quality Brushes
One thing you may know already if you’re an artist, using quality paint brushes makes all the difference. If you opt for the cheapest possible option at the dollar store, you’ll likely end up with a brush that not only leaves a streaky finish but leaves tiny brush bristles throughout your project. Trust us when we say that trying to pull out hairs from wet paint does not leave the even finish you’re looking for.
Tip Eight: Rollers Can Work
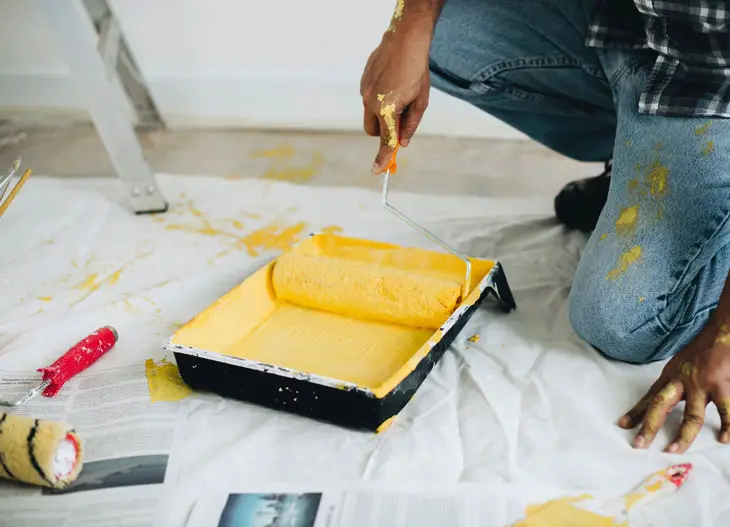
Image via: Pexels
If you’re trying to paint a large surface and don’t want to spend a lot of time doing it, you can absolutely use a paint roller instead of a paintbrush. A paint roller is a great way to evenly cover a large area very quickly. That being said, it’s essential to note that there are different style paint rollers, and you’ll want to find one ideal for the surface you’re painting. We recommend looking for ones with labels indicating they’re for smooth surfaces for the best finish.
Tip Nine: Brush Strokes
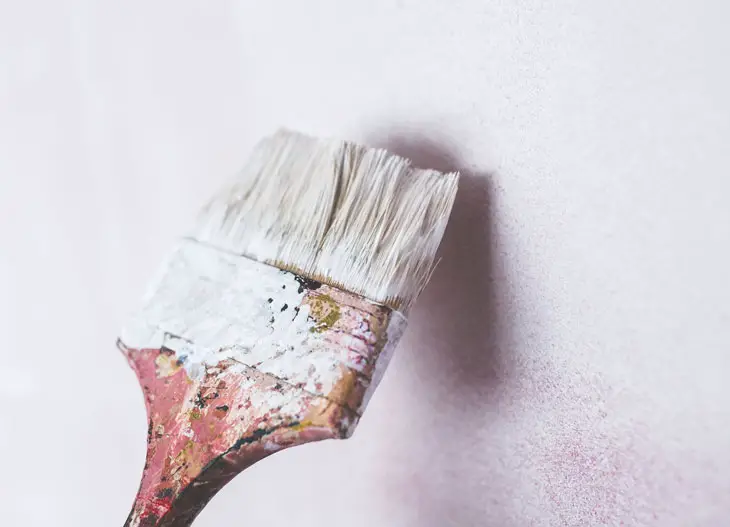
Image via: Pexels
Having trouble getting an even finish? If so, you’re probably seeing your brush strokes in the actual paint itself. To eliminate the look of brush strokes on the surface of your piece, you’ll want to add a product like Floetrol or Penetrol if you’re using oil-based paint. These products help to thin the paint you’re using which in turn helps the paint apply more smoothly and evenly.
Tip Ten: Distress Naturally
If you’re trying to achieve more of a distressed look instead of an even finish, you’ll want to do it the right way. After all, there’s nothing more embarrassing than having a piece of furniture that looks purposefully distressed and worn. If you want to avoid randomly sanding wear and tear into your piece, take a moment to stop and think. The best way to distress a piece of furniture is to think about the portions that would see the most use. One of the things that helped us in distressing was to take a look at the oldest, most similar, piece of furniture in your house. Notice where the fading happens, including nicks, dings, and more.
We suggest adding distress to places like drawers, around draw handles, on corners, legs, and edges. If you have a piece that doesn’t have a specific front or back, take a look at the parts that could rub up against the wall. Places that stick out are bound to be more worn down than even surfaces. Just make sure that you don’t overdo it, otherwise, you’ll end up with something that looks more shabby than chic.
Conclusion
If you’re one of those people that loves to change around your style and follow the latest and greatest trends both in fashion and interior design, you’ll love utilizing your newfound knowledge on painting furniture. Furniture paint is incredibly inexpensive when you compare it to purchasing an entirely new piece. We know that most people don’t have space or income to renovate their rooms with each new trend which is why painting comes in handy! So, what are you waiting for? Grab your paint brush and your sandpaper and start transforming your house on the cheap, today!