Table of Contents
*This post may contain affiliate links. As an Amazon Associate we earn from qualifying purchases.
Just got your first sewing machine and don’t even know where to find the power button? Did your grandma just gift you that sweet new Singer model, and now she’s waiting patiently to see that spiffy new quilt you promised to make her? Looking to start a career as a professional seamstress but don’t know where to start? Whatever your situation, learning how to use a sewing machine could prove invaluable to you. So don’t stress; it may not come easy for everyone, but it also doesn’t have to be difficult. We’ve got you covered.
Before you learn how to use a sewing machine, it will be helpful to learn what exactly a sewing machine is and does and what kind of sewing machines work best for beginners (and whether some may not be the best choice for a newbie to start out with). Then you can move on to learning step by step how to operate that spiffy new piece of equipment your nana gave you to craft beautiful creations like quilts, blankets, dresses, and so much more. So plug in the power cord and get ready to thread that needle; because you’re about to learn how to use a sewing machine.
What Is a Sewing Machine?
Simply put, a sewing machine is a machine that takes the millennia old practice of stitching and sewing and makes it a hundred times faster and easier. The needle moves at whatever rate you need it to, resulting in greater accuracy and precision in your pursuit of threading fabric together to create clothing, blankets, and more.
Though there are industrial sewing machines used in factories for large scale production, the focus of this article will be on the more familiar home models that you’ll no doubt be using for your sewing needs.
THE HISTORY OF SEWING MACHINES

Image via Wikimedia
The English inventor Thomas Saint is credited with inventing the first sewing machine design in 1790. However, he wasn’t too great at advertising and marketing his creation, so it wasn’t until much later that its popularity soared. Nobody has seen his machine, but William Newton Wilson, a manufacturer in the late 17th century, found some of Saint’s drawings and built a working model that is now owned by the London Science Museum.
The sewing machine first gained its footing around 1830 when a French tailor, Barthelemy Thimonnier, invented another design. He received a patent for his machine and opened the first machine-based clothing manufacturing company to craft uniforms for the French Army. His new design wasn’t loved by everyone, however; others in the sewing industry who were scared of losing their jobs because of the machines burned down his factory. One of Thimonnier’s machines can also be found at the London Science Museum.
Sewing machines started catching on for home use after William Jones and Thomas Chadwick began making them around 1860. They started manufacturing the machines, and though clothing makers were their first real customers, it wasn’t long until they became popular among the British middle-class. Amateur seamstresses were enthralled by the ability to put together a man’s shirt in just an hour compared to the fourteen and a half they’d need by hand. Soon, women’s magazines and household guides started including dress patterns and instructions so those who’d caught the fever could spend every free moment at the machine.
Singer Sewing Co. made the first electric sewing machines in 1899. By the end of World War I, they were selling hand, treadle, and electric machines. At the start, the electric machines were standard models with a motor attached to the side, but as more families started using electricity, they got trendy and the motor slowly joined the casing.
PARTS OF A SEWING MACHINE
For this article, we will use a standard Janome machine as an example. However, many other makes and models have very similar traits and characteristics, so it shouldn’t be hard to see the counterpart on whatever machine you own. Here’s a rundown of everything you’ll find on your machine:
- 1Power cord and on and off switch. Can’t get it started without these!
- 2Foot pedal. It controls the speed of your needle, and the power cord is attached to it; it goes on the floor somewhere your foot can reach it easily.
- 3Stitching knobs. One changes the type of stitch (straight, zigzag, and so on); another changes the length between stitches.
- 4Stitching guide. These are little designs on the side which show you exactly what type of stitches are available to use; you’ll turn the correct stitching knob to select what you need.
- 5Hand wheel. This is located on the side of the machine and makes your needle move up and down.
- 6Reverse stitch lever. Switching this lets you sew backward and in reverse.
- 7Width Dial. Located on the top of the machine, this dial adjusts the width of the stitch which is quite important for zigzags.
- 8Tension dial. Located on the far side, adjusting this changes the tension of the presser foot.
- 9Presser foot. This is the metal part of the machine. You lower it to sew and raise it to take it off the fabric.
- 10Measuring tape. Painted on the machine is a smile ruler that will come in handy when sizing up fabric.
- 11Storage space. If you take off the front part of your machine, you might find a nifty little hole that you can put fabric or other things inside to save for later use.
Can a Beginner Use Any Type of Sewing Machine?
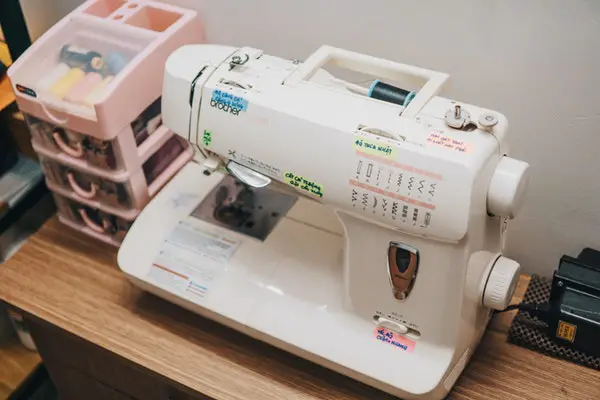
Image via Pexels
Though it’s not impossible for a beginner to learn how to use even the most complex of machines, it’ll undoubtedly be much easier if you start with something that suits your needs and skill level. Don’t think forking over the extra dough for a professional, more complicated model will necessarily make it easier to learn how to use a sewing machine. It may do just the opposite.Which machine you decide on should depend on whether you’re looking to do home decoration, quilting, or some other task, as certain machines are better suited for each. No matter what you plan on using your machine for, however, you’ll want to find something that is convenient, has high build quality, is flexible, and has a good overall performance.
DESIRABLE FEATURES
There are several things you’ll want to ask yourself about a machine before you finally settle on one. First, how easy is changing needles and how long does it take? Likewise, how does the machine deal with multiple layers and how is its ability to stich on heavy materials? Does the machine feature tension control? There are some tricks on a sewing machine that become a bit more complex without it. Likewise, how complex is it to make a buttonhole? Also, does a bound seam hold up using this machine?Furthermore, how difficult is it to thread and how long does it take? If you don’t have the best coordination, go for a sewing machine with an automatic threading feature. Also think about when it comes to changing a presser foot; is there a snap-on adjustment or does it need to be screwed on? And how versatile is it? Will it handle everything you want to do with it?You might also consider what built-in stitches the sewing machine has. Go for those that have a good amount of the basics instead of looking for something with the most decorative alternatives. And even though you’re looking for a beginner’s model, keep in mind that you won’t always be a beginner; will it still suit your needs as your skill grows? And perhaps most importantly, consider its speed; some of your projects may not go perfectly if you don’t have a machine with high-speed capabilities.And of course the big one: how much does it cost? Learning how to use a sewing machine doesn’t need to be an expensive venture.
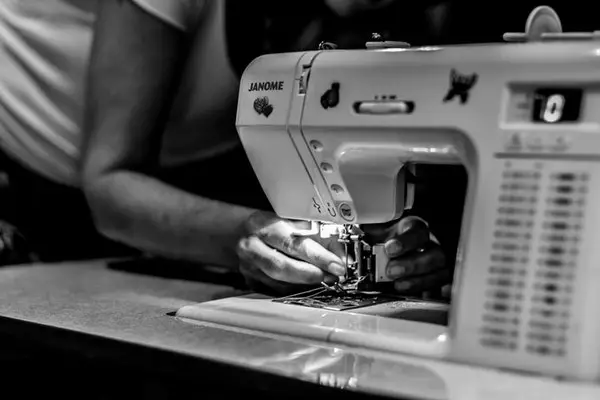
How to Use a Sewing Machine
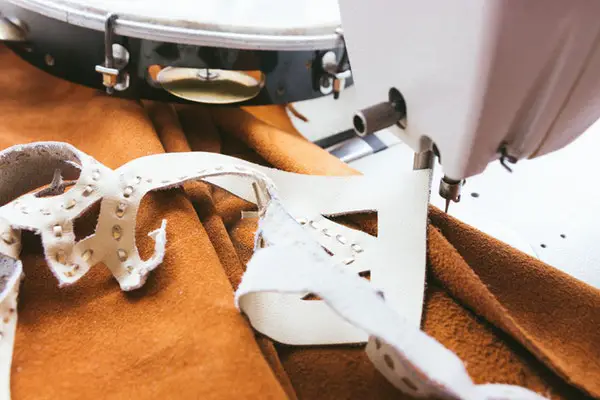
Image via Pexels
Though it’s not impossible for a beginner to learn how to use even the most complex of machines, it’ll undoubtedly be much easier if you start with something that suits your needs and skill level. Don’t think forking over the extra dough for a professional, more complicated model will necessarily make it easier to learn how to use a sewing machine. It may do just the opposite.Which machine you decide on should depend on whether you’re looking to do home decoration, quilting, or some other task, as certain machines are better suited for each. No matter what you plan on using your machine for, however, you’ll want to find something that is convenient, has high build quality, is flexible, and has a good overall performance.
THREADING THE BOBBIN
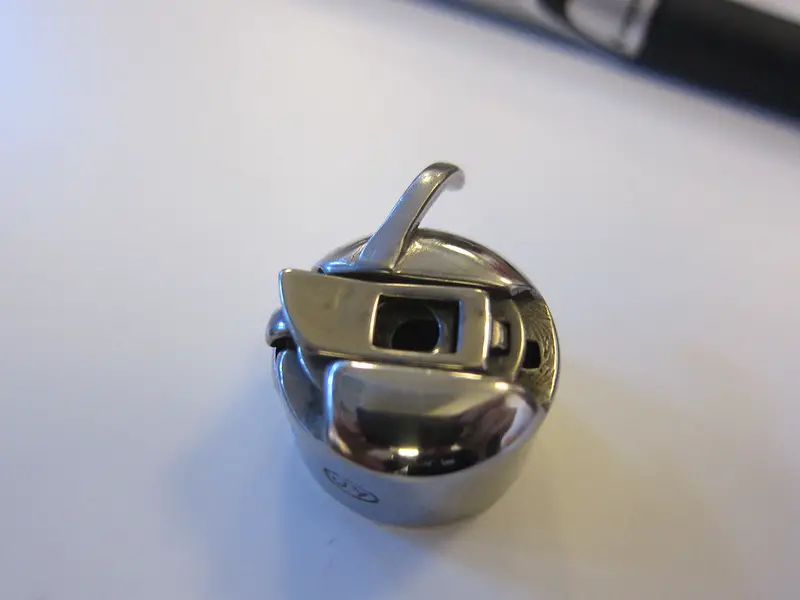
Image via Flickr
Before you thread your machine, take care of the bobbin first. Place the spool on the spindle that’s near the top of the machine. You’ll want to ensure your holder is in place, or else your thread may get launched. You’ll then want to wrap it around the little silver button. Afterwards, take an empty bobbin cartridge and thread in the color of your choice. On the cartridge, there should be a hole to bring your thread through. Then place the cartridge in the designated spot and slide it to the right.
Next, push on the foot pedal. It will begin to wind. When it starts, take a pair of scissors and cut the thread you’re holding; let the bobbin keep winding until it’s full. Slide it to the left and take it out. Remove the bobbin cover and put the bobbin in the correct slot. Consult the manual to see which direction the bobbin spool should turn.
THREADING THE MACHINE
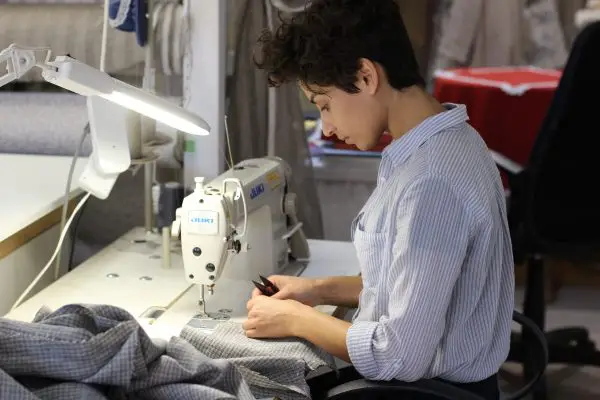
Image via Unsplash
Every machine has its own way of doing this, so the best thing for you to do is consult your manual. However, most machines aren’t that different, so let’s go through how you thread a Janome.Grab your thread and lead it through the system on the top of your machine (some models even have a small diagram to aid you in this). After, go down the right side of the grey section, loop your thread at the bottom, and then take it up the left side. Finally, bring it through the thread take-up lever and take it one last time toward the needle. The last step is to thread it through the little metal piece below the white part of the machine, through the little piece of metal on top of the needle, and then through the needle.With the hand wheel, lower your threaded needle to the bottom and back to the top and it should catch the bobbin thread and pull it up with the needle thread. Tug both threads to the side and close the bobbin case.
STRAIGHT SEEMS AND CORNERS

Image via Unsplash
Place the square of fabric under the presser foot and lower the lever. Ensure the tails of the thread are pointing behind the sewing machine and pinch the threads to keep it from pulling out of the needle and messing up your work. Lower the presser foot and start sewing. The foot controller works just like the accelerator in any vehicle, so start things off slow.Make a couple stitches forward and then reinforce that seam by doing a few backstitches. At the end of the seam, do it all over again. Make good use of that reverse button! When you’ve done that, go to the corner, but stop when you’re a half-inch from it. Make a perpendicular turn and lift the presser foot lever while your needle is still in the fabric, change directions, and move your work. You just finished a corner and learned how to use a sewing machine; that’s something to be proud of!
Conclusion
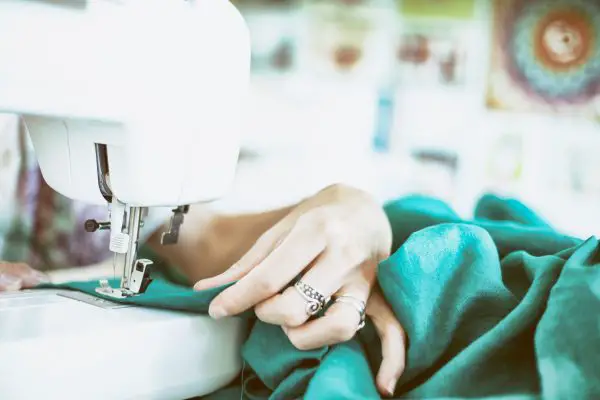
Image via Unsplash
There’s still far more to learn about how to use a sewing machine, but these basics should get you more than half way there. Sewing can be a great skill to use either professionally or recreationally, and it’s undoubtedly a great way to make your grandma proud. Always read the owner’s manual before undertaking a task like this; and watching a few videos might be an awesome way to supplement this article.
We hope you’ve had fun learning how to use a sewing machine; now have some fun on your first sewing adventure!
Go make your grandma proud.
Featured Image: Pexels