
Table of Contents
*This post may contain affiliate links. As an Amazon Associate we earn from qualifying purchases.
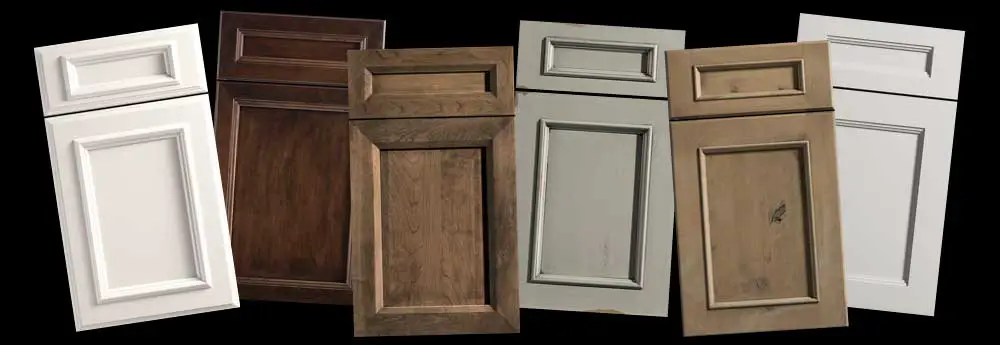
Do you spend a lot of time working or dining in your kitchen? Are you constantly cooking, serving others, and eating the delicious food you or a family member has prepared? Would you like to enjoy the atmosphere of your kitchen as you’re savoring the taste of a home cooked meal, or even the takeout you have ordered? One way to make your kitchen feel fresher and more welcoming is to paint the cabinets. Choose a paint that complements your kitchen appliances, and then you can adapt and arrange the rest of the décor based on those colors.
Some people are afraid that painting kitchen cabinets is too difficult, because you have to be able to use the room at all times, so you can’t really block it off for painters to come spend the day refurbishing. What you may not realize is that painting the cabinets can be a simple and even enjoyable process. Yes, you can have some fun with it! If you’ve been thinking about painting your kitchen cabinets but you have been hesitant to undertake what you think is an overwhelming task, fear no more! Keep reading to discover 5 tips that will make you see how easy and rewardingit can be to paint those kitchen cabinets!
1. Remove Doors
It’s going to be next to impossible to paint your cabinet doors with them still attached to the cabinets. Even if you are able to do it, you won’t be able to avoid getting paint all over the hinges that keep the door connected, and that is not a sight anyone wants to see. Why spend so much time painting only for it to look messy in the end? It’s better to just take those doors down and paint the cabinets on their own first.
You can paint the sides and front of your kitchen cabinets on their own, and then paint the doors separately. Make sure all the paint is completely dry before you replace the cabinet doors, or you could end up smudging or scuffing the job you just finished. There’s nothing more frustrating than looking at a job well done only to realize it maybe wasn’t as perfect as you thought.
Painting the doors and cabinets separately guarantees a much neater and more precise job. Don’t you want the job you’ve done yourself to look like it was done by a professional? I know I do. That’s why it is important to be careful to only paint the surfaces we want to paint, and not the entire surrounding area. Sure, it takes more time to remove the doors, but it is certainly worth it. Trust me, you’ll be glad you don’t have to try to figure out exactly how to cover the whole surface of the door with paint while still keeping those hinges clear of any excess paint.
2. Remove All Grease
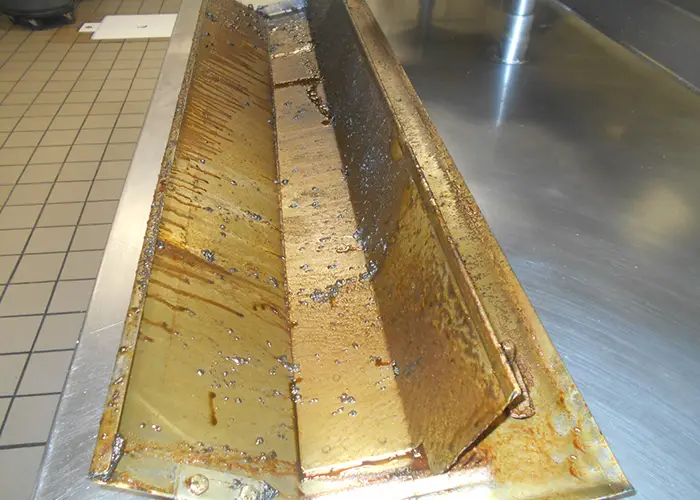
With all the cooking and eating that happens in the kitchen, there is bound to be some grease and food residue on the kitchen cabinets. You absolutely cannot paint over this grease. The paint will reject the surface, leaving spots of grease and grime on your otherwise flawless new paint job. Before any painting can begin, you must make sure you have gotten rid of all grease buildup.
This is a relatively simple task, but it may require some elbow grease of your own. You will need to scrub away at the grease until the surface is unblemished and clean. Normal dishwashing liquid should work just fine for this, as it is what we use to remove grease from our pots and pans, so why shouldn’t it do the same for wooden cabinets? However, if you are still struggling to get the grease off with everyday dish soap, try getting a heavy-duty grease remover such as Goo Gone, Clorox, or Lysol.
If you would rather use a simpler grease remover, you can try using products you already have at home. Vinegar and baking soda are both excellent natural cleaners. Try them out on a small area of the surface at first, to make sure they will get the job done. The same principle applies to lemons. They can be an excellent degreaser, but make sure the citric acid in them won’t eat away at your cabinets first.
Once your cabinets are grease-free, it’s just about time to get started on our paint job!
3. Prep The Surfaces
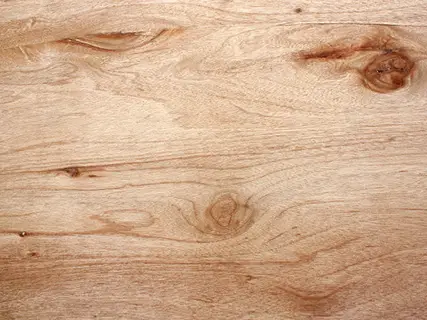
As with any material that you plan on painting, it is important to prime and prepare all surfaces. If you’ve never done this before, don’t worry! The process is simple. You are going to want to use an oil-based primer rather than a water-based one, because the oil-based mix keeps the wood from becoming discolored over time. It is important to ensure the wooden base of the cabinet isn’t able to seep into the paint color you have chosen, yellowing the color over time.
The primer makes the surface more susceptible to the paint, and it helps make sure the paint will adhere perfectly to the wood of the cabinet. If you plan on painting your kitchen cabinets a dark color, I recommend having the primer tinted so you don’t have to apply multiple coats of paint to cover up its normally bright white color. If you plan to use both light and dark colored paints on your new cabinets, you can always buy one plain primer and one tinted primer. This is up to your personal preference. You may not mind painting an extra coat or two to save on the cost of primer.
Once you have selected your primer, it is time to apply. Your best bet is to use foam rollers just like you would use to apply your normal coat of paint, but at a higher density. It should be easy (and even fun) to roll on the primer, and because it is oil-based, it will dry fairly quickly. It is still best to wait a day before painting your newly primed surface though, so have some rest before you tackle the rest of the project. Don’t forget to sand your surface after priming and before painting! Sanding will make the surface rougher, which makes it easier for the paint to latch onto the wood when it is time to apply that first coat.
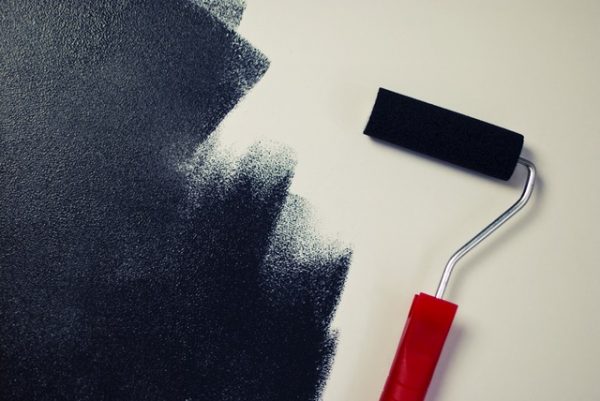
4. Use A Foam Roller
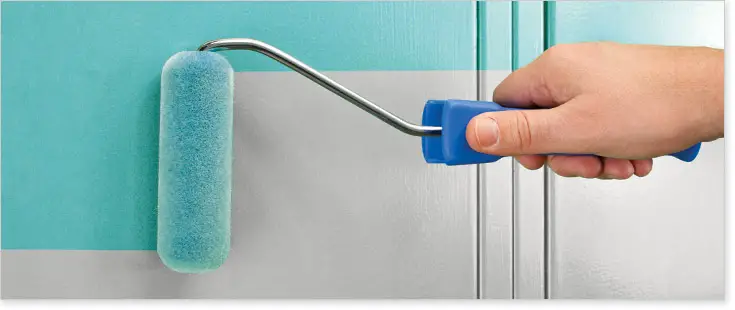
I have mentioned that you are going to want to use a foam roller to apply your paint, but I want to get more specific. You obviously want your paint to go on smoothly and cleanly, so picking the right roller is important. I recommend using the four- or six-inch foam roller because the finish will be incredibly smooth. The foam sleeves can be applied over the roller, just as sleeves of mohair or microfiber can. Try out a little bit of paint on your roller on a surface people are less likely to see (such as the inside of one of the cabinet doors) to make sure you like the way it rolls and applies.
The act of actually applying the paint isn’t very difficult, but there are a few things to keep in mind. First of all, you want to make sure you are following the grain of the wood. This will make your paint job much smoother. If you forget to do this on the first coat, it’s no problem. Just make sure your final coat goes in the direction of the wood grain, and no one will be the wiser.
[amazon box=”B079H7QP6Q” /]
Finally, be very careful that your roller is reaching into all the nooks and crannies of your surface. Painting corners can be a little tricky, but rollers nowadays are designed with foam all over every side, so you are able to cover the whole thing with paint and apply it everywhere. However, if you do happen to see a few tiny spots your roller has missed, you can always go over these with a paint brush. I would use a two-inch paint brush for best results.
5. Keep The Paint Coats Even
You already know that you’re probably going to want to apply two coats of paint. Make sure you let the first coat dry before attempting to paint the second and final coat. Also, be sure that the second coat is going on top of a perfectly even and balanced first coat. To avoid an uneven paint job with bumps or ridges, you want to wipe the edges as you are painting.
Since we are working with cabinets and corners, paint tends to buildup on the sides. If it dries like this, you will have unsightly bumps and ridges that make that second coat of paint much harder to apply. As soon as you see puddles or piles of paint building up on the edges of your strokes, be careful to wipe them away with either your paintbrush or a separate sponge brush. This is an easy step that will make all the difference in the finished look of your new cabinets.
If you follow all these tips, I guarantee you will love the look of your newly painted kitchen cabinets!
Summary of Things You Need
[amazon box=”B00S518WF6,B078JR8Q2S,B079H7QP6Q,B008G8F0RG” grid=”4″]