Table of Contents
*This post may contain affiliate links. As an Amazon Associate we earn from qualifying purchases.
The right backsplash can make or break a total kitchen design. Though it appears merely aesthetic at first glance, there is a practical reason for having a solid tile backsplash in your kitchen. If you are a Do-It-Yourself type, then learning how to install subway tile backsplashes can not only add a professional-looking element to the kitchen but can also save you hundreds, maybe even thousands, of dollars on labor and materials.
Today we will cover everything you should know about how to install subway tile backsplashes in your kitchen. From preparation to installation to final clean-up, we’re here to show you that anyone can update their old backsplashes with these classic looking styles of tile.
What is Subway Tile?
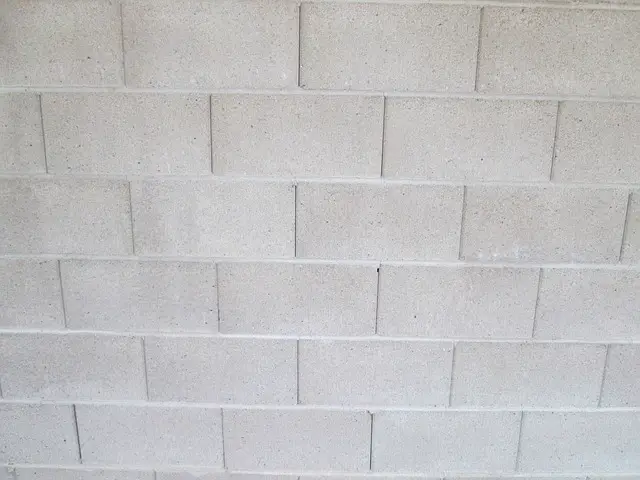
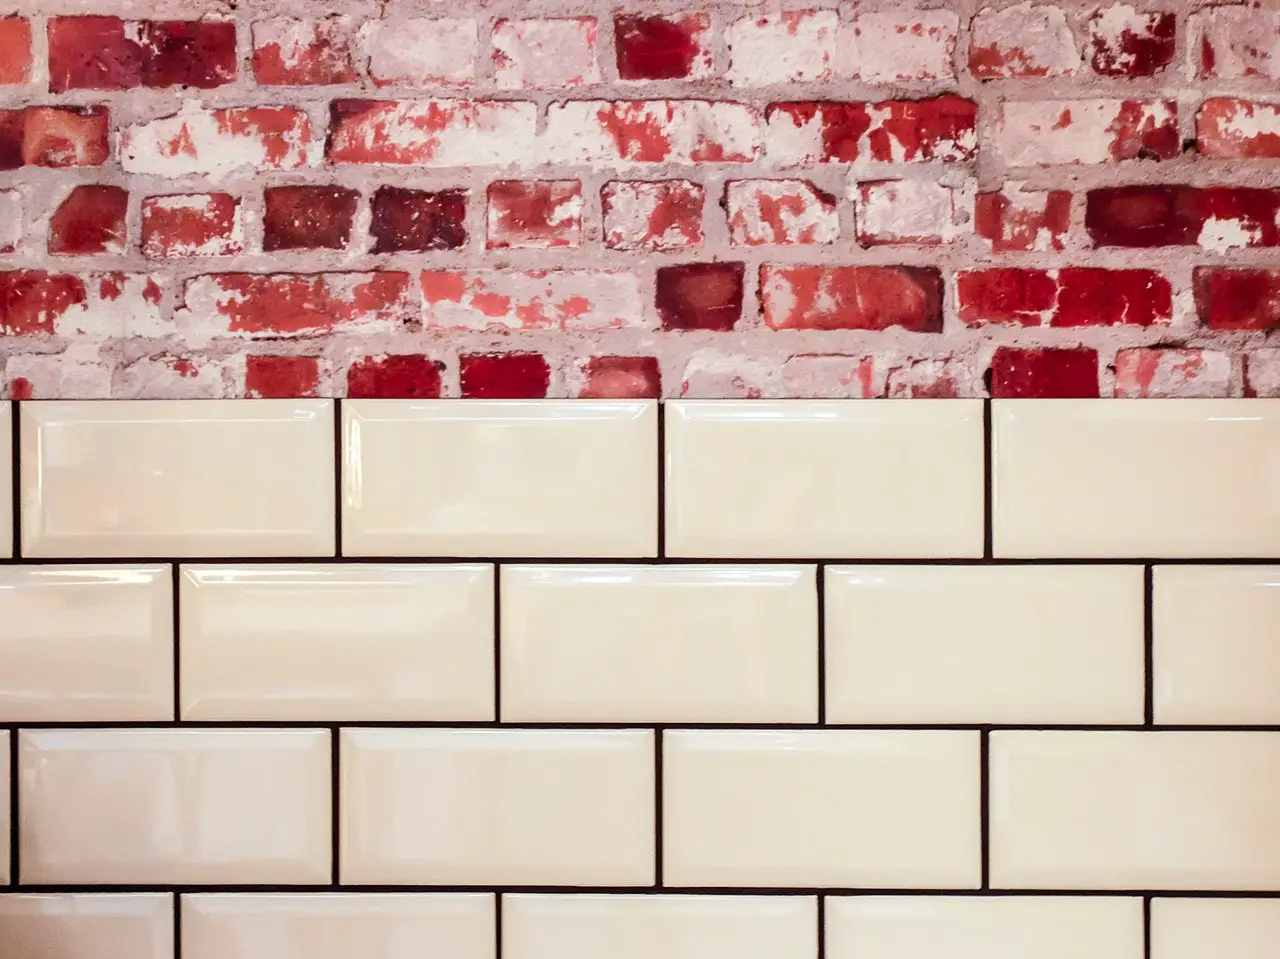
image via: pixabay
There are countless designs and shapes available for tile projects, so finding the right look for your job can be difficult. Subway tiles are one of the more versatile styles to work with, fitting naturally into nearly every type of kitchen or bathroom you can imagine. Subway tiles are characterized by small to medium-sized rectangular tiles set in an offset or brick lay pattern.
Before walking through how to install subway tile backsplashes, it’s important to know what you are getting yourself into here. Subway tile is a forgiving and adaptable style, but there are some important rules to follow when choosing the right tile for your job. While the size and shape of subway tiles are consistent, the material and installation aesthetic can vary. While glass, ceramic, and porcelain tiles are by far the most popular, you can also find terra cotta, shale, or even metal types of subway tile.
It’s important to know the type of subway tile because they may require special bonding and installation materials. The grout lines and resting pattern can look dramatically different based on the material type you choose for the backsplash. Be sure to familiarize yourself with the requirements for the specific tile material and set-pattern you are using for your backsplash.
Installation Tools and Materials
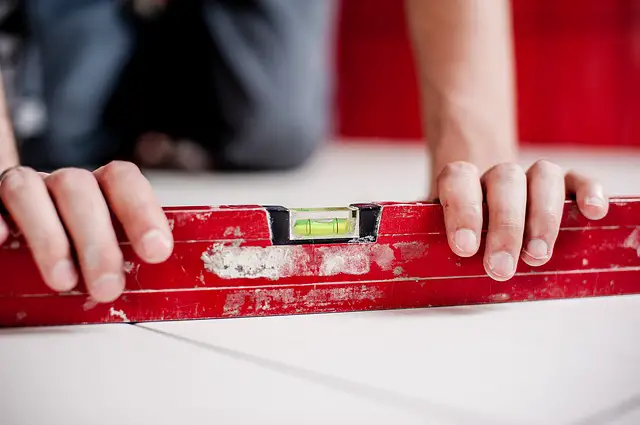
image via: pixabay
Part of knowing how to install subway tile backsplashes is having a good idea of what materials you’ll need. Installing good looking tiles requires a few tricks and tools of the trade, so it’s not always as simple as just tile, mastic, and grout. Be sure to have all the materials and tools listed below before you get started.
Tools and Safety Equipment
For the demolition portion, should you need it:
- Hammer or pry bar
- Safety goggles or other eye protection
- Paint scraper or flat edge pry bar
For the actual installation of the subway tiles, you should have the following tools:
- Wet saw (for smaller projects you can use a manual tile saw)
- Tiling trowel or a V-groove trowel
- Grout float
- Large masonry or work sponge
- Putty knife (for joint compound detailing)
Installation and Prep Materials
It’s important to know your square footage before purchasing, so double check your math and make sure to get an extra ten percent of materials for overages:
- Tile (either pre-made layout squares or traditional individual tiles)
- Tile spacers (1/8” to 1/4”, depending on the look you want with your grout lines)
- Thinset or other mastics
- Non-sanded grout
- Tile caulk
Installation Tools and Materials
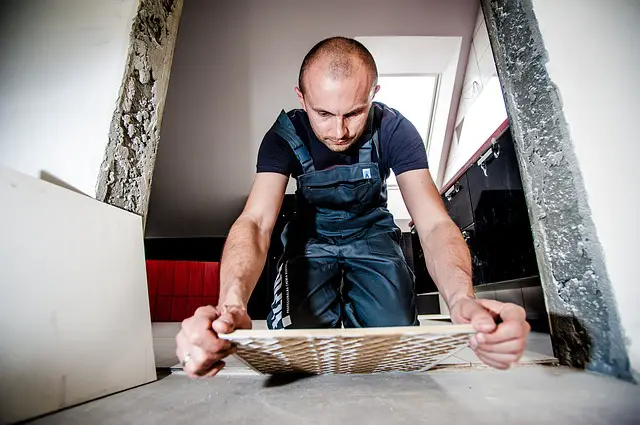
image via: pixabay
Now that you have your materials and all the required tools we can get down to learning how to install subway tile backsplashes. The following will take you through step-by-step as you put up your first subway tiles.
Demolition and Removal of Old Backsplash
Before you can learn how to install subway tile backsplashes, you need to remove whatever is standing in as your current backsplash. Though tile is the most common material used, there can also be textured paints, vinyl applications, wallpapers, and even metal sheeting up on the wall. Your goal during demolition is to get as much of the old material off the wall, including whatever glue or bonding agent they used, without damaging the underlying drywall.
Most vinyl sheets and wallpapers will come off with just a little muscle, so just be careful with how much of the drywall paper comes up with it. You can use a paint scraper to remove excess glues or adhesives once the bulk of the sheeting is off.
If you’re dealing with more traditional stone or tile backsplash, it’s hammer time! Using a standard hammer or other blunt striking tools, tap on the tiles with enough force to shatter and break them, but not enough to punch a hole through the drywall. This is easier than it sounds, as the entire system of tiles will come apart once you remove the first couple of rows. Once you have the tiles and the grout off of the wall, you can use a scraper to remove the remaining thinnest or other tile adhesives.
Prepare the Wall for Installation of Tile
As with most DIY projects, learning how to install subway tile backsplashes starts with thorough preparation of the surfaces you’re working on. The prep work here will make the ending steps much easier, especially if you take proper precautions in taping and masking your cabinets, countertops, and other exposed fixtures.
If the demolition of the old backsplash went cleanly, and if the drywall underneath is in good condition, then you can install the tiles directly on the applied mastic or adhesive mortar. Now, even though installing the tiles onto the drywall is generally accepted, you should consider using a stone board, or a “backer board” on the drywall. This solid board is usually half an inch thick and is installed directly over the full height of the backsplash area.
Installing the stone backboard will not only make applying the mastic easier, but it also acts as an additional moisture barrier. If you aren’t planning on using a backer board on the main line of subway tiles, we at least recommend you place it in high moisture areas like above and behind the sink or above the range and stovetop.
Prepare and Apply the Mastic or Thinset
Now that your wall is ready for the tile it’s time to apply the mortar material that will stick the tiles to the wall. Mastic or thinset comes in pre-mixed buckets, so we recommend using this as opposed to mixing your own. Even professionals can get tangled up with a bad blend of thinset. You can leave it up to chance or just get a premix so you can hit the ground running.
Using your straight trowel, apply the thinset or mastic to the wall in no more than three-foot sections. If you apply too much before placing the tiles, you can lose some adhesion and sometimes cause slippage of the tiles. Remember, you’re working against gravity, so try to keep in mind that this stuff is drying from the moment you get it up on the wall. Don’t worry; if you’re just now learning how to install subway tile backsplashes, you can fix whatever drips and spots you make with the straight trowel later.
Once you have it stuck onto the wall, take your v-notched trowel and use long, sweeping motions to remove any of the excess material. You should create a nice pattern of channels and ridges on the wall, with an even flow from corner to corner. These notches not only conserve the mastic on the project, but they also make the tiles stick easier during the application process.
Place the Subway Tiles
Now it’s time to line up the tiles on the thinset. You don’t want to rush the application, but don’t forget that the thinset is already curing and losing moisture, so, sooner is always better than later. Place the tiles from the bottom by pressing them slowly and firmly into the thinset on the wall. It’s okay if some material oozes out from the sides of the tile, as you will have a chance to clean up the extra thinset later on.
The real trick here is the proper use of the spacers. The little “plus signs” will act as buffers between each side of the square tiles. Grab the spacer by one arm and place the opposing arm into the mastic, pressing it snugly down against the edge of the tile. As you place each tile, be sure to alternate it with a spacer. If you do this properly, and with some patience for resetting the squares, you will start to see clean and even gaps between every tile.
Once you reach the edges on each side, you can cut each individual tile to fit the space remaining. Be sure to leave the cut edge on the outer most border of the backsplash, this way you can’t see the unglazed interior of the tile. The unfinished edges will be covered with the grout on three sides and the bead edge of caulking on the others.
Remove Excess Mastic and Prep for Grout
Once you have set all of your tiles in place and have them squared up with the spacers, then it’s time to remove all the extra mastic or thinset that’s peeking out of the edges. You don’t have to scrape it down to the wall, but be sure to expose enough of the gaps to allow proper filling from the grout. The v-grooves in the trowel should be perfect for guiding down the gaps and removing excess mastic.
You can also use a toothpick or spare spacers to clean out the more messy areas of the installation. Be sure to care for the gaps and lines as you do this, because it’s unlikely the mastic has set enough to keep the actual tiles from moving out of place. Once you’ve cleaned out all the grout lines, you can take a much-needed break. Setting tile can be tedious so the dry time here will give you a perfect time to rest before grouting.
Allow twenty-four hours for the mastic to set and dry enough to move onto applying the grout and final caulking.
Grout Application and Detailing
Start by removing all the spacers, using a flat edged tool to pry them out if they have dried into the mortar. We recommend using a pre-mixed non-sanded grout for this project. We already discussed using premix as opposed to making your own batch, and the same reasons apply here as it did for the mastic or thinset.
Using your flat face float, scoop out generous amounts of the grout onto the tiles. Don’t worry about getting it directly on the tiles, because you’ll be using the sponge later on to clean it off. For this step, you want to be sure you’re completely filling in the gaps between the tiles with no bubbles. Do not use the grout on the outer edges between the tiles and counter, or the tiles and your upper cabinets. Those particular gaps will be filled in with the kitchen-grade caulk at the end.
Once all the grout is applied you can clean the faces of the tiles with the float. Come across the face and remove whatever excess grout you can, because this will make clean up much easier. When you’ve finished with the flat edge scrape, use the detailed corner of the v-groove trowel to shape the grout lines and even them out from left to right. This will also help shift the remaining grout into whatever pockets of air are hiding behind the tile lines.
Clean Up and Final Caulking
Now you can remove the film of grout left behind on the faces of the tiles. This “grout haze” can be removed with the work sponge and cool water. Wet the sponge and wipe the tiles down with light pressure, only cleaning two square feet at a time before rinsing the sponge and moving onto the next section. Keep repeating this process until the haze has been removed and the tiles appear clean.
Your last task will be applying the finishing caulking around the outer edges of the backsplash. Use as much caulk as necessary to completely fill in any gaps, allowing for some overflow in the larger spaces. Once the caulking is in place, use a wet finger or damp detailing sponge to run along the caulking lines and clean them up, much like the same detailing you did for the grout lines. For best results, try to match the color of the caulking with the grout.
Variations On How to Install Subway Tile Backsplashes
image via: unsplash.com
Once you know how to install subway tile backsplashes, then you’re halfway to knowing how to work with many other materials. The clean lines and repeating pattern of subway tiles make it a great first tile type to work with, especially if you’re new to this type of installation. There are tons of variations on the subway style you can get by combining it with other popular modern looks and color combinations. Using a solid subway tile as a backsplash is your first step in revitalizing and updating your kitchen and a great first DIY project for your remodel or update.
featured image source: pexels.com
