Table of Contents
*This post may contain affiliate links. As an Amazon Associate we earn from qualifying purchases.
Having a hole in the wall in an apartment can cost tenants their deposits when they move out. Fortunately, holes from nails or cracks in drywall can be easily fixed with the use of spackle. By learning what it is and how to use it, you can forget about losing money to a landlord over tiny nail holes.
What is Spackle?
Spackling compound is used to repair cracks and holes in drywall, wood, and plaster walls. It is made from gypsum plaster and can be bought in either powder form or pre-mixed and ready to use. There are different types of the compound, some of which are better for small repairs and others for fixing larger holes in drywall and other surfaces.
Types of Spackling Compound
The size of the hole or crack in the wall will influence the type of spackling compound that you choose to repair it. Also, the type of wall that you’re repairing will also help you choose which compound to use. The various types of spackling compound are:
- Lightweight
- Standard
- Vinyl
- Epoxy
- Acrylic
When you go to buy the compound, the type of product it is will appear on the label, so there is no guessing involved in buying it. You just need to know which type to use for your project.
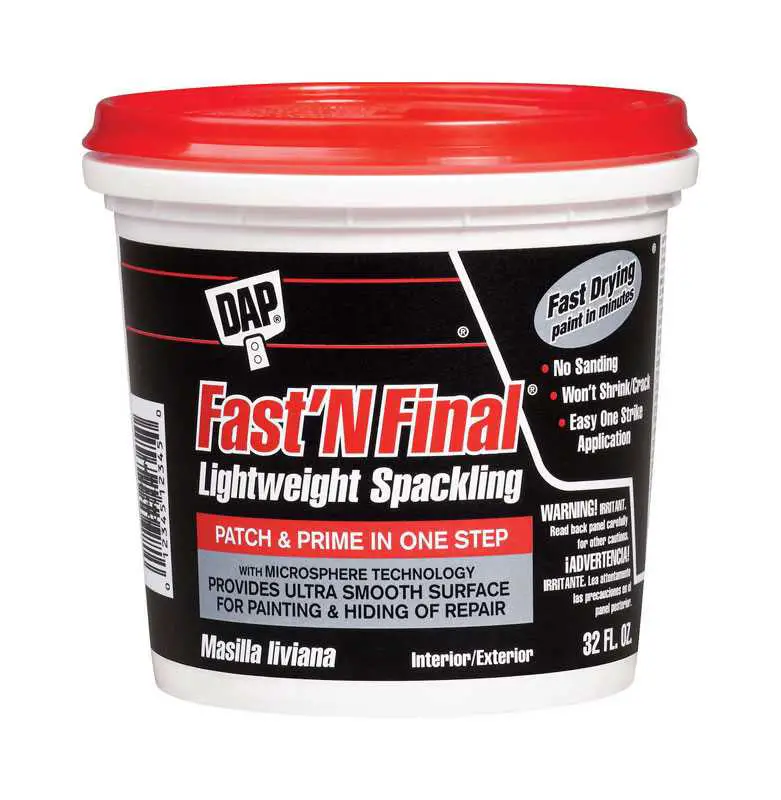
Lightweight Spackling Compound
The lightweight type of spackling compound is made from a fine aggregate that contains sodium silicate and an adhesive. When selecting a compound, remember that the smaller the hole or crack is, the lighter the patching product should be.
That is why lightweight spackling compound is the best product for repairing smaller dings, holes, and cracks. Also, the lighter the compound is, the faster it dries, the less it shrinks, and the smoother the finish. Ideally, a hole should be less than an inch wide and a 1/4” deep when using lightweight spackling.
Standard Spackling Compound
Standard or all-purpose, drywall spackle is a gypsum-based product for repairing larger holes, gouges, and cracks in drywall. If the area you’re repairing is likely to be bumped again, such as with a doorknob or a chair, then you should use the standard compound as the lightweight compound can crack or crumble.
Also, lightweight spackling does not sand well, which is why the all-purpose spackling is better for filling deeper holes and cracks. After it dries, the edges can be sanded for a better finish and to prepare the wall for paint.
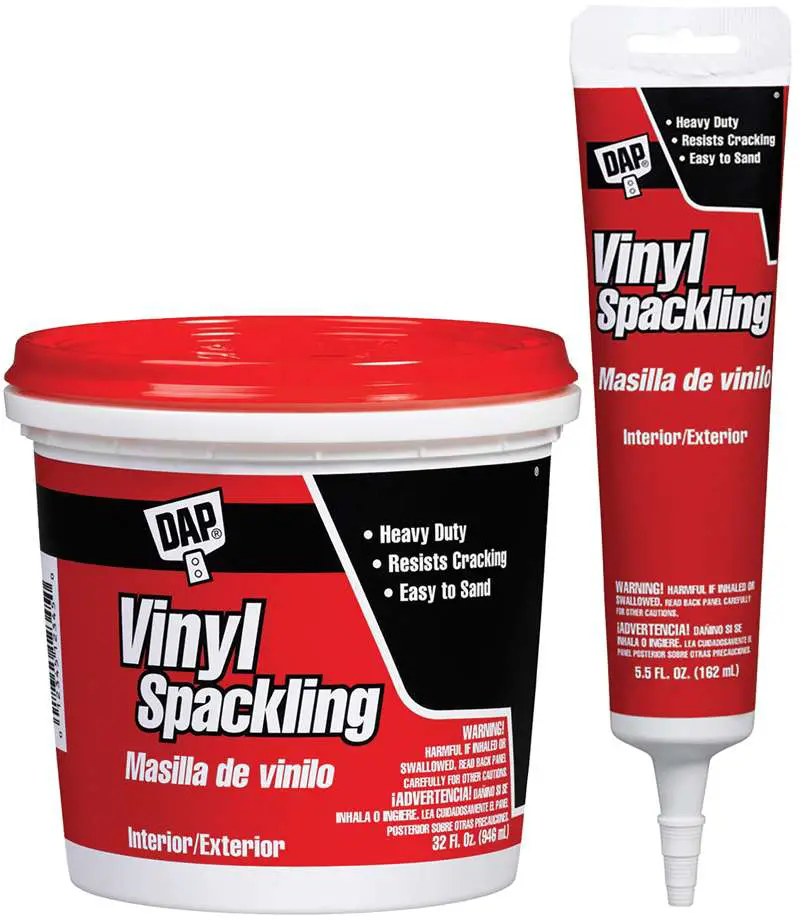
Vinyl Spackling Compound
Image Credit: sutherlands.com
The vinyl spackling compound should be used when a hole or crack is up to ¾” deep. It should be applied in layers and allowed to dry between each one.
Along with drywall, vinyl spackling can be applied to plaster, wood, brick, and stone on the interior or exterior of a home. It contains elastic polymers, so this type of spackling will not dry out, crumble, and it sands well.
Acrylic Spackling Compound
For deeper holes or gouges in a wall, an acrylic spackling compound may be the best product to use. Like the vinyl compound, it is flexible and can be applied to drywall, stone, brick, wood, or plaster. Its flexibility helps keep shrinkage to a minimum.
Epoxy Spackling Compound
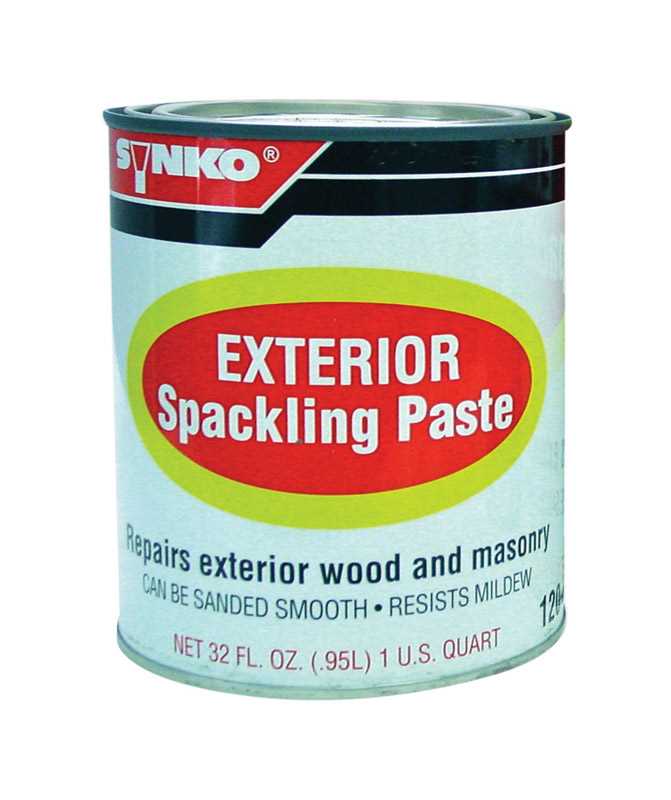
An epoxy spackling compound is a wood filler that can help repair holes, gouges, cracks, or other imperfections in the wood. It is an oil-based filler, so it dries slowly, and an oil-based stain or paint needs to be applied to it.
This product can be used on the interior of a home or the exterior. It comes in two parts, which must be mixed in the appropriate proportions, so it hardens and lasts after the repairs.
Differences Between Spackling and Joint Compound
To the average layman, the differences between joint compound vs. spackle seem almost negligible. However, there are slight differences in the two products.
Joint compound, also known as drywall mud, has the consistency of plaster. It dries much slower than spackling compound, so it is better for larger jobs. If there is a large hole in a piece of drywall, joint compound can be applied to a backing, like mesh, to fill it in.
Since it can dry quickly, spackling compound is better for smaller repairs. Also, depending on the type that is needed, it can be applied to the exterior of a building to repair wood, brick, or stone, but joint compound is always applied to drywall.
Both products are readily available, so they are inexpensive, but spackling compound is a little more expensive than joint compound. Both products are also available in a powder form, which must be mixed with water to get the right consistency, or in pre-mixed varieties, which are ready to use right away.
How to Spackle
If you get a dent, gouge, or hole in a wall, it is important to know how to fix it. Not only will the wall look better by eliminating the holes, but you will increase the chances of getting your deposit back if you live in an apartment or a rent a house.
To choose the right spackling compound, determine the size of the damage you’re repairing. Remember, lightweight spackling is for small repairs, while the standard or all-purpose compound is better for slightly larger holes and cracks.
Only a few spackle tools are necessary to fix a hole or crack in drywall. You will need:
- Putty knife, one that is larger than the area that needs patching.
- Fine sandpaper
- Clean cloth
- Spackling compound
Step One: Prepare the Wall
Before you apply spackling compound to repair a hole or crack, you should prepare the area. Make the surface as smooth as possible by using a fine grit sandpaper or a putty knife to clean in and around the crack or hole. The prep work will help the compound adhere to the wall.
Step Two: Mix or Stir Compound
If you bought powder spackling compound, you would need to mix it so you can apply it to the wall. Add water in small amounts to some of the compound and mix it until it reaches a smooth, spreadable consistency.
Start out with a small amount because you can always mix more if necessary. If you bought pre-mixed compound, stir it, so it is spreadable.
Step Three: Apply Compound
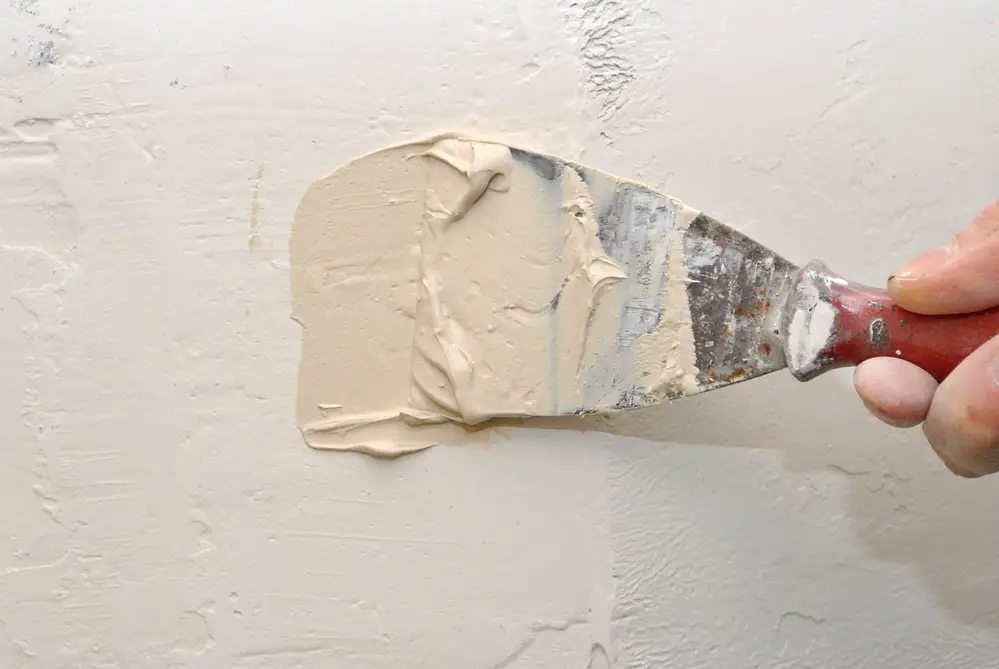
Using the edge of the putty knife, scoop out a little more of the compound than you need to fill the crack or hole. Place the putty knife slightly above the damage at an angle and apply it to the wall by moving the knife downward.
Step Four: Remove Excess
After filling the damage, hold the putty knife at about a 90-degree angle and carefully remove the excess spackling compound without removing the putty from the hole or crack. Then, dampen a cloth and wipe the compound off the wall next to the repair.
Step Five: Let it Dry
After you’ve cleaned the edges of the repair, allow the spackling compound to dry. Although it dries quickly, give it at least two hours to dry and harden.
Step Six: Check the Repair
After it has been allowed to dry for a couple of hours, check the compound. If it has recessed into the hole or crack, then the spackling compound shrank slightly. Most damage deeper than ¼” will need more than one application of compound.
Step Seven: Apply More Spackling Compound
Take more of the spackling compound and repeat steps three through six, but slightly mound the compound on the area on the second application. You can sand off the excess after it dries.
Step Eight: Sand Excess Compound
Check to make sure the second application of the compound is dry. If it is, lightly sand the area with a fine grit sandpaper. Sand it until the repaired area is flush with the wall. Wipe away the dust with the cloth.
Repeat steps three through eight to repair all the damage on the wall from nail holes, cracks, or larger holes in the wall. After sanding the compound, so the wall is smooth, you can then prime and paint it so the wall looks as good as new.
Repairing Plaster Walls
While you could use spackling compound to repair a plaster wall, such as those in an older home, ideally you should use a plaster patching product. However, both plaster and spackling compound are gypsum-based so that the compound will stick to the plaster.
Repair the cracks or holes in a plaster wall just as you did drywall. Use the lightweight spackling compound to repair fine cracks that plaster walls get when a house settles. For larger cracks or holes, use the appropriate spackle.
Usually, the best time to repair a plaster wall is just before you’re ready to repaint it. Perform steps three to six from above, and then you can prime and paint the wall after the excess compound has been removed.
Knowing how to repair drywall after hanging pictures or accidentally putting a hole in the wall will make your home look nicer, and it can save you some money since you won’t need to hire a handyman to do the repairs.


