Table of Contents
*This post may contain affiliate links. As an Amazon Associate we earn from qualifying purchases.
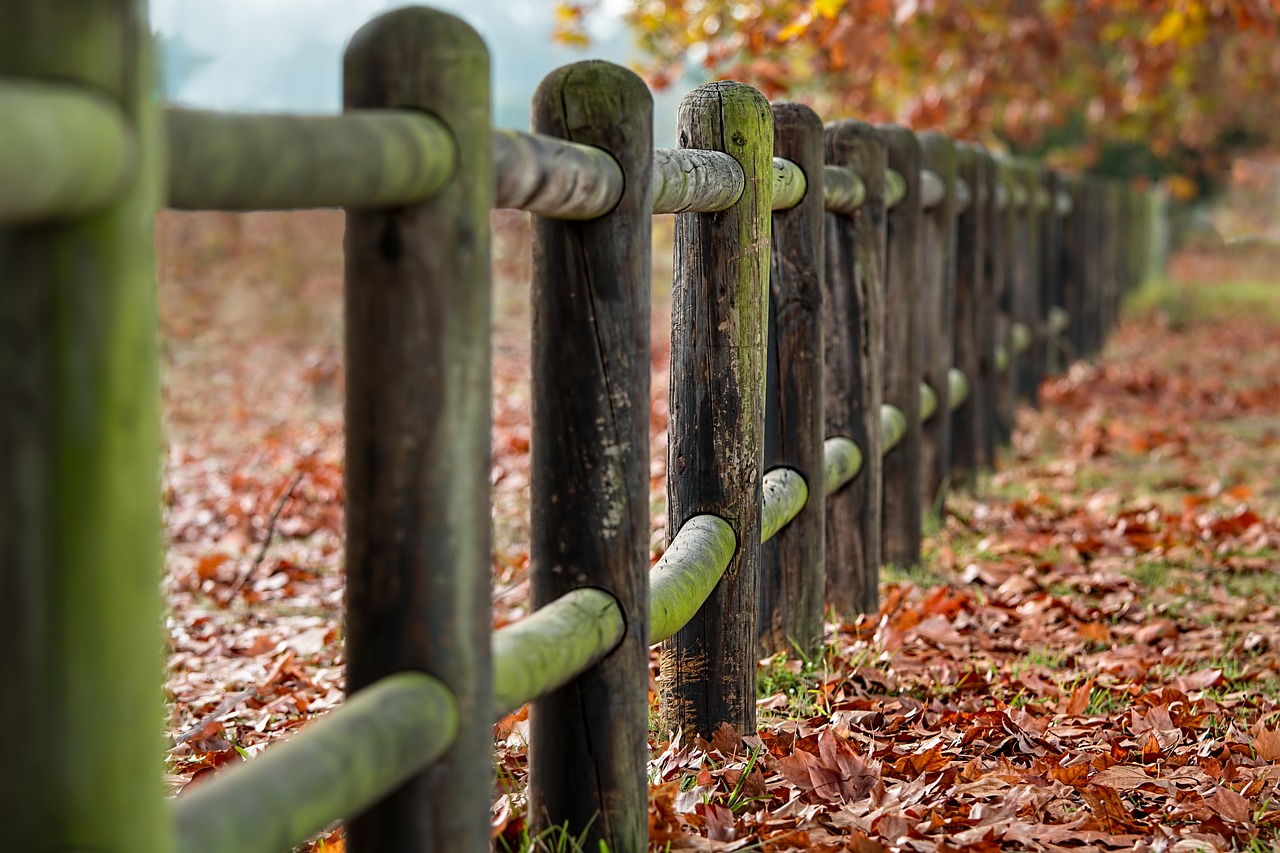
When it comes to your home, privacy is essential.
If you live on a quiet residential street, privacy may not be too much of a concern. However, if you live in a busy part of town, you might want to consider building a privacy fence.
Building your own privacy fence is cheaper than hiring someone to make it for you. You’ll also have the satisfaction of completing it yourself.
Let’s look at how to build your own privacy fence with these 6 easy steps.
1
Things To Do Before Building Your Privacy Fence
Before you get started on your privacy fence, there are a few things you need to do in preparation. Let’s take a look at these:
- Local Restrictions: most local councils have restrictions on building a fence onyour property. You’ll need to research this and make sure that the fence you want to develop is not illegal – otherwise, it could be torn down. Make sure tocheck with your local neighborhood association and planning department about rules and regulations.
- Get a Permit: most home construction, including a fence, requires a buildingpermit. This is because there are many water and electrical lines buried in the ground where you’ll be building. When you apply for your license, remember tocall your local utility board – they can come and tell you where piping is.
- Choosing Materials: you want to make sure that your fence is going to last a long time. You can guarantee this by purchasing the right type of wood. Ask your local lumberyard for help if you’re unsure.
- Choosing a Style: there are many different fence styles to choose from, so make sure you choose one that you can look at for the next twenty years. Each style also has a different construction method, which you need to take note of.
2
Deciding On Where To Build Your Privacy Fence

Now that you’ve done your due diligence and are all ready to begin constructing your fence, you need to determine where you’re going to build it.With most home construction, location is everything. Thefirst thing you need to do is find your property line – then it’s crystal clear where your fence should sit. You don’t want to build your fence on your neighbor’s property – it could end up in a lawsuit.You can even hire a land surveyor to accurately find your property line, right down to the millimeter.Once you’ve located your property line, you need to decideon the height of your fence. Six feet is the standard measurement of a privacy fence, but it’s entirely up to you whether you want it to be taller or shorter than this.It’s essential to decide on the height early on, as this will determine the post hole depth.Once you’ve got your height and property line, you can stake the corner locations of your fence. Place four stakes in the corners roughly where you plan to put your fence. Place a string around the parameter of your four stakes, and use a square level to make sure each angle is 90 degrees.
3
Adding Posts To Your Privacy Fence
You’ve determined the property line for your fence, and you’ve decided on the appropriate height. You’ve staked the corners and used a string with a square level to ensure that each angle is 90 degrees.Now, let’s look at how to stake the middle posts of your fence.Measure eight feet along the string and stake this locationto determine where your first fence support post will go. Go along the remainder of the string, staking out the rest of your support posts in increments of eight feet.Use a pot hole digger to dig the holes for your support posts. The posts will need to go into the ground at least 30 percent deep as they are tall. Always allow for a few extra inches with each hole you dig.Place 4 inches of gravel in the bottom of each hole. Placeyour post in the hole in the gravel and align it correctly. Make sure all four corners of your fence are still square and that your posts are sitting straight when in their holes.Pour premixed concrete into each hole until it fills up to two-thirds. Add water to the rest and mix together with the cement. Once the concrete is set, fill any gaps in each hole with dirt.
4
Adding Your Support And Privacy Boards

Now that you’ve planted your support posts let’s take a look at how to add your support and privacy boards.Before you add any more wood, you’ll need to tie a builder’s line around the perimeter. A builder’s line attaches to each support post and ensures that the height of your fence is kept the same all the way around.Once you’ve included your builder’s line, add your supportboards. Your support boards will lie horizontally along the length of your fence. Cut your 2×4 pieces of wood to the appropriate length, so they fit snug between each support post. You’ll need two between each post.Use decking screws to attach your support boards.When you have your support boards securely in place, it’stime to attach your privacy boards. These are your pickets, and this is where style can vary greatly.The most basic way to add your pickets is board on board.Your privacy boards should be nailed on and have a gap of roughly an inch between them. You can either nail the boards by hand or screw them in place.
5
DIY Privacy Fence Aftercare

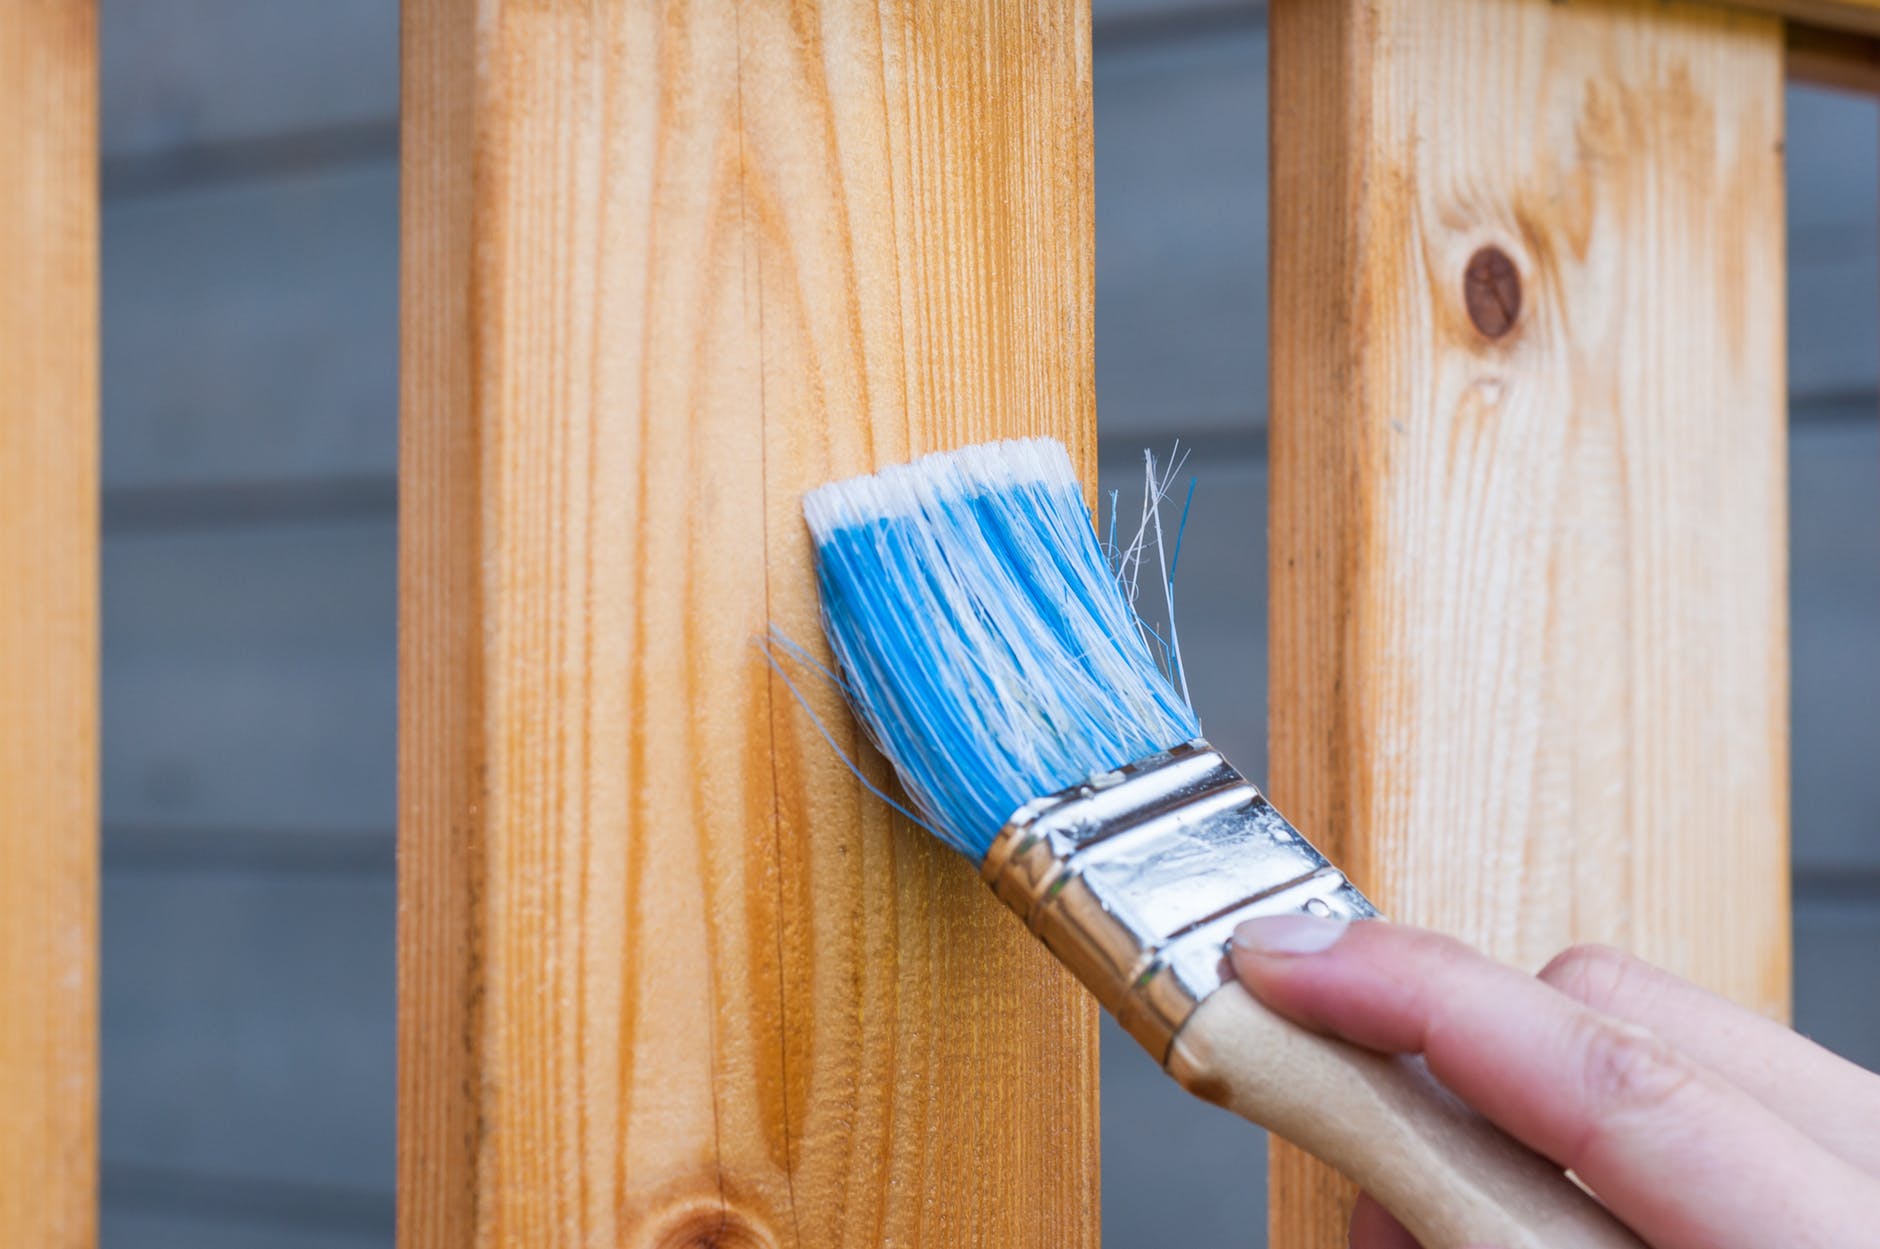
Once you’ve finished the construction part of your privacyfence, you’ll want to take good care of it. Your new wood will now be exposed to many different elements, making it likely that it will suffer weather damage over time.The best way to prevent this type of damage is to treatthem as soon as you’ve finished construction. There are many different ways you can treat the wood that your new privacy fence is made of.These include painting your fence or staining it. Stainingthe wood is like polishing it, creating a protective layer of resin that will keep rain from causing water damage. Painting is just as effective at adding a waterproof layer over the wood.You can also purchase a weather-proofing finish that’sdesigned explicitly for this purpose. A weather-proofing finish typically includes linseed oil or silicone solids.If you prefer to paint your fence, try to use a paint thatincludes an oil-based sealer. Once this layer is dry, you’ll want to add a layer of exterior enamel for a permanent finish that you won’t have to go over again any time soon.
6
Repairing And Maintaining Your Privacy Fence

You’ve constructed your very own privacy fence and made sure to protect it from the outside elements. However, you can’t completely prevent unforeseen events like damaged pickets.Let’s look at how to repair and maintain your privacy fence:
- Cleaning: if your fence has a build-up of mildew, try cleaning it with a fiber scrub brush and detergent. This combination will remove most tough stains.
- Bracing: sometimes you need to brace your support boards for extra reinforcement. Add a 2×4 cleat to the bottom of the support post underneath the support board. Screw the cleat in place using a drill.
- Add a Sister Rail: if one of your support boards is starting to falter, you canalways add a sister support board to help bolster it a bit. Depending on thedamage, you can add the sister rail the entire length of your support board.Clamp both boards together and use carriage bolts to secure them together.
- Loose Fence: your fence may have come loose in some places. You can always add a third support board in the middle of the two original boards for extra support. Use deck screws to screw the new support board to your support post.
- Replacing a Board: sometimes your support board is too damaged to salvage, and you need to replace it altogether. Unscrew all your pickets carefully beforereplacing the support board, before nailing your pickets back in place.
Follow These 6 Easy Ways For Your Own Privacy Fence
Building your own privacy fence is easier than you may think.
Whether you’ve had lots of experience in DIY or almost none, you’ll be able to build your own privacy fence. As long as you know what you’re doing and have the correct tools, there’s no reason why you can’t make a long-lasting privacy fence for your home.
When you hire someone to build a privacy fence for you, you have to pay for the materials and labor. When you create your own privacy fence, you can save money on both of these.
Start your next weekend project by building your very own privacy fence.
