Table of Contents
*This post may contain affiliate links. As an Amazon Associate we earn from qualifying purchases.
We all know you can’t be home all the time, but with current technology it is possible to keep an eye on your home when you can’t be there. Security cameras have become a standard part of many households, and this includes investing in wireless products like the easy-to-install Nest Outdoor camera 2 pack. The Nest Outdoor units not only allow the user to monitor their home but also gives the viewer the option to contact the scene at home, Something as simple as yelling “STOP!” to startle a home intruder through the camera is often enough to end a burglary.
What Is the Nest Outdoor Camera 2 Pack?
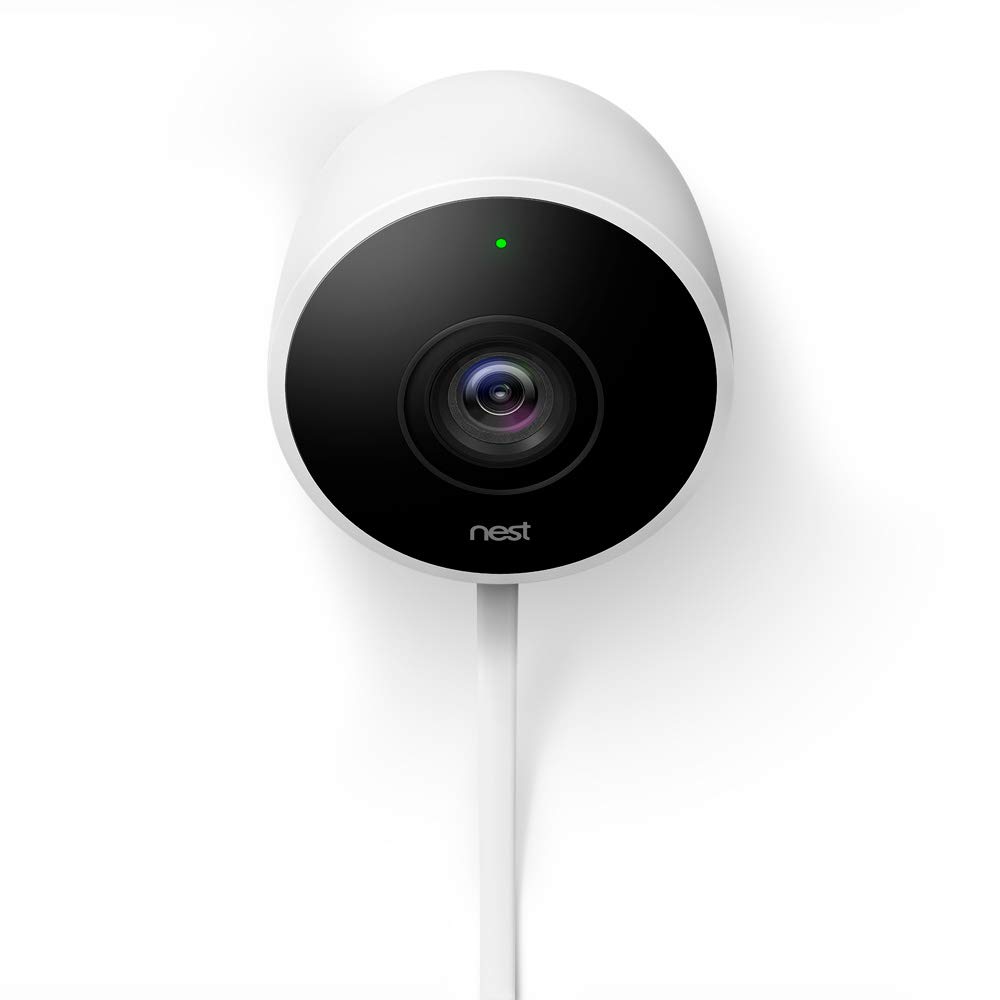
The Nest Outdoor Camera 2 pack is a Google product. It is a set of 2 wireless cameras that are made to withstand the elements outdoors and give homeowners a clear picture of the home’s exterior.
Customers interact with the cameras via an app that makes the streaming video accessible on a compatible smart phone, tablet or desktop computer. The Nest Outdoor camera 2 pack not only provides the user with live video but also comes with a speaker users can use to interact with intruders.
Beyond the physical cameras, this system comes equipped with Nest Aware from Google. This cloud-based tool not only monitors the activity on the camera but uses smart technology to tell the difference between moving objects and people. Nest Aware is set to send the homeowner alerts when there is human movement on camera but will not react to things like rain drops or trees blowing in the wind.
Can the Nest Outdoor Camera Be Hard-wired?
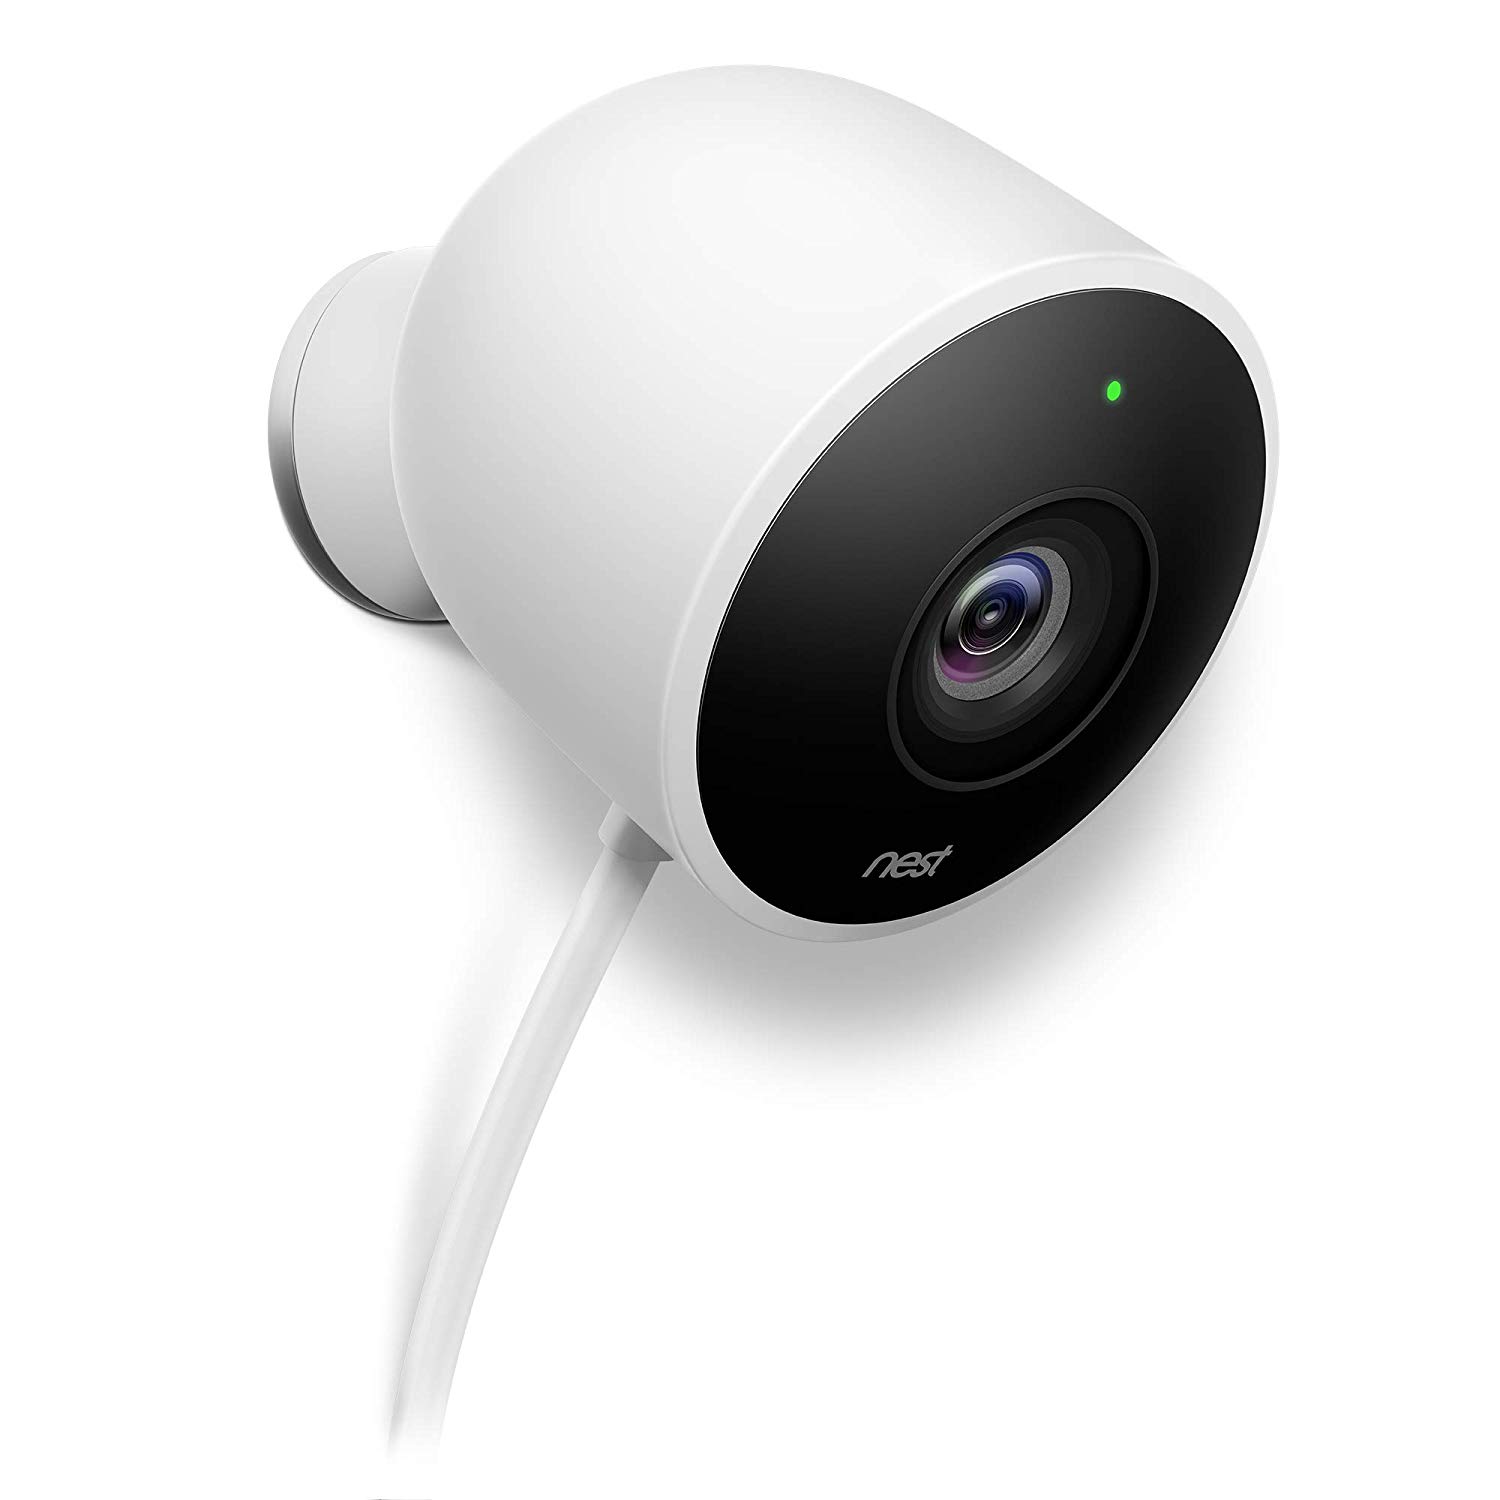
Image via Amazon
The Nest Outdoor camera 2 pack is meant to be used as wireless cameras. While they need a power source, they can not be hard-wired.
Using wireless technology means the customer can interact with the cameras and view the feeds on a variety of smart phones, tablets or other electronics. It is not possible to hard-wire the cameras to one of these devices.
Is There a Need for Professional Installation of the Nest Outdoor Cameras?
Most homeowners will find the cameras to be easy to install. There may be rare cases that require professional installation. To install the Nest Outdoor camera 2 pack, the homeowner will need to know where things like pipes are located in any walls they need to drill through for the power source. If they cannot figure this out or live in a building where renters aren’t permitted to do drilling, they may need professional help.
How to Properly Install the Nest Outdoor Camera 2 Pack
Installing the Nest Outdoor camera 2 pack is a three-step process. Before you start, gather everything you will need. This includes buying the cameras, securing the tools, like an electric screwdriver, and locating the power source for the camera. You can either use an outdoor plug or drill a hole inside to use an interior plug to power the camera.
To install the cameras, you will need:
- Screwdriver with a Phillips bit
- 3/32″ drill bit for pilot holes
- 7/32″ drill bit for wall anchors
- All the cables and materials includes in the package from your cameras
- A ladder
Once you have everything you need to start the installation, the first step is to set up the application on a smart phone or computer.
Step 1: Connect Camera to the Nest Aware Application
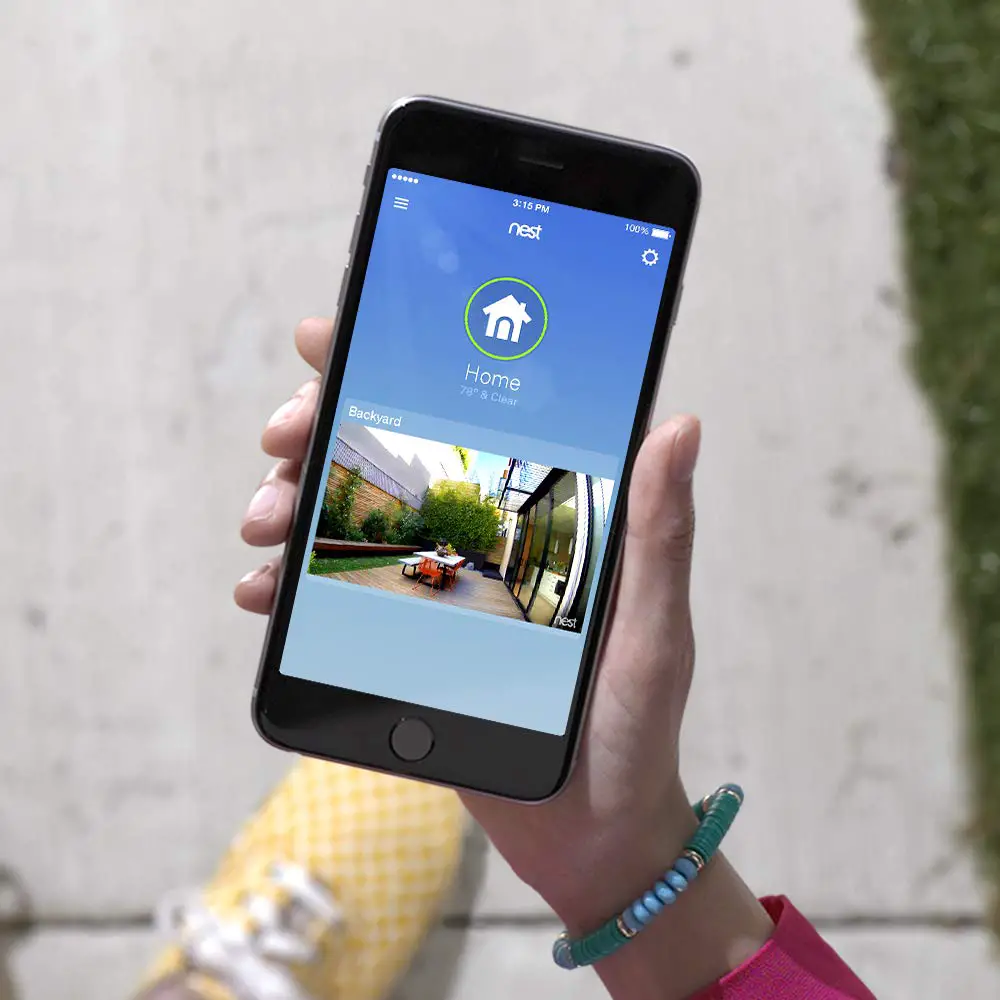
Image via Amazon
Before you head outside to install the Nest Outdoor camera 2 pack, make sure your electronic device can see the camera. This set-up occurs inside the house. Follow these steps to get you started:
- Unpackage and lay out everything that came in the box with your cameras. This will include all the needed cables and power sources.
- Verify you have a wireless phone or tablet that runs either iOS or the Android platform.
- Verify you have the required WiFi connection that connects the camera to the phone or tablet. This will be a broadband connection with at least 2 Mbps upload ability.
- Connect the camera to the power source by locking the USB connection into the base of the camera. First plug in the USB end of the power cable and then twist this into place. Then plug the power cable into a wall outlet.
- The camera should automatically power up, and you will see a flashing blue light on the front of the camera when it does.
- Find the Nest app on the wireless device you will use to view the camera. It is ready for download in the Apple Store or via Google Play.
- Set-up a Nest account on the app once it downloads.
- Launch and sign in to the account. This will allow you to see your camera and connect you phone or tablet to the camera.
- Tap the plus sign on the front page of the Nest app to add your home camera.
- Sometimes the plus sign may not show on the app, but you can access this by clicking on the tool icon (it looks like a gear). From the tool icon click open the “add product” link.
- Follow the step-by-step directions on the app to test the camera inside.
Step 2: Find an Outdoor Location
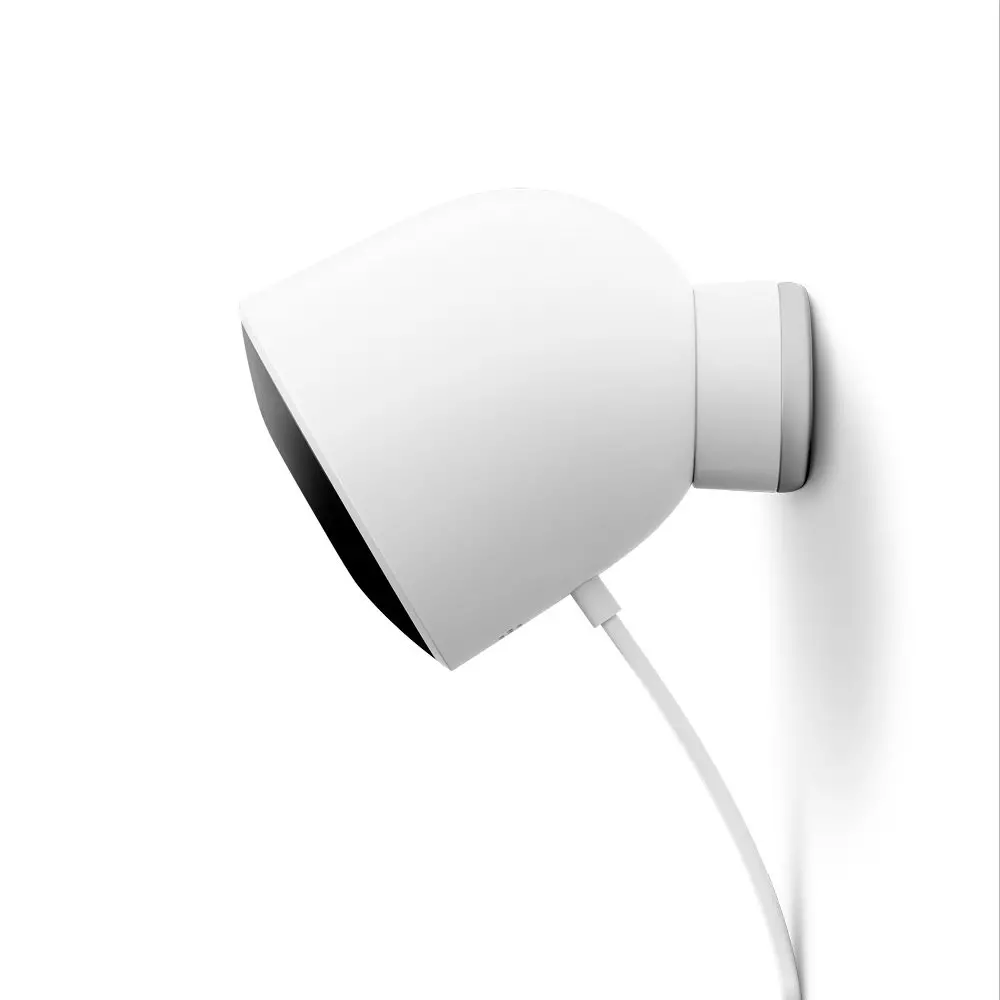
Image via Amazon
Now that we know the camera works and is connected to your phone or tablet, it is time to head outside. It is important to locate a safe and secure location for the camera. Follow these steps to search for the outdoor location:
- Unplug camera from the wall outlet.
- Survey the area to decide what part of the property you want to monitor. Some of the most common locations include the garage, front door, backyard and all other entrances into the house.
- After you pick the spot you want to view from the camera, find a sheltered location for the installation. Even though the Nest Outdoor camera 2 pack is made to be outside, sheltering it from direct rain or sun will give you the best camera images. Shelter can include an awning or porch.
- Locate an outdoor outlet to power the cameras. This camera is made to work with most outdoor outlet and their covers.
- In the absence of an outdoor outlet, you can drill through the wall to power it via an inside outlet. This will take special care as to not disturb pipes or household wiring. You will also need to verify building codes if this is required.
- If you do not feel confident in drilling through the outside wall but lack an outside outlet, calling a professional installation tech is a good idea.
- Plug your Nest cam into the outdoor outlet and verify it works. In a moment or two the light will go from blue to green to show it is connected.
- Hold the camera up to the place you think you want it installed and verify the WiFi connection works there. If there is no clear connection, moving the camera as much as an inch or two may fix this.
- Use the Nest app to see the streaming video. Check to not only make sure there is live video but also that it covers the area you want to be able to see.
- Once you find the location you want and confirm the WiFi works, map out where the cables will be installed. You will need a path that goes from the camera to the power outlet. Keep in mind you have 25 feet of cable total and you want to install the camera 7 to 10 feet off the ground.
Step 3: Install Camera Outside
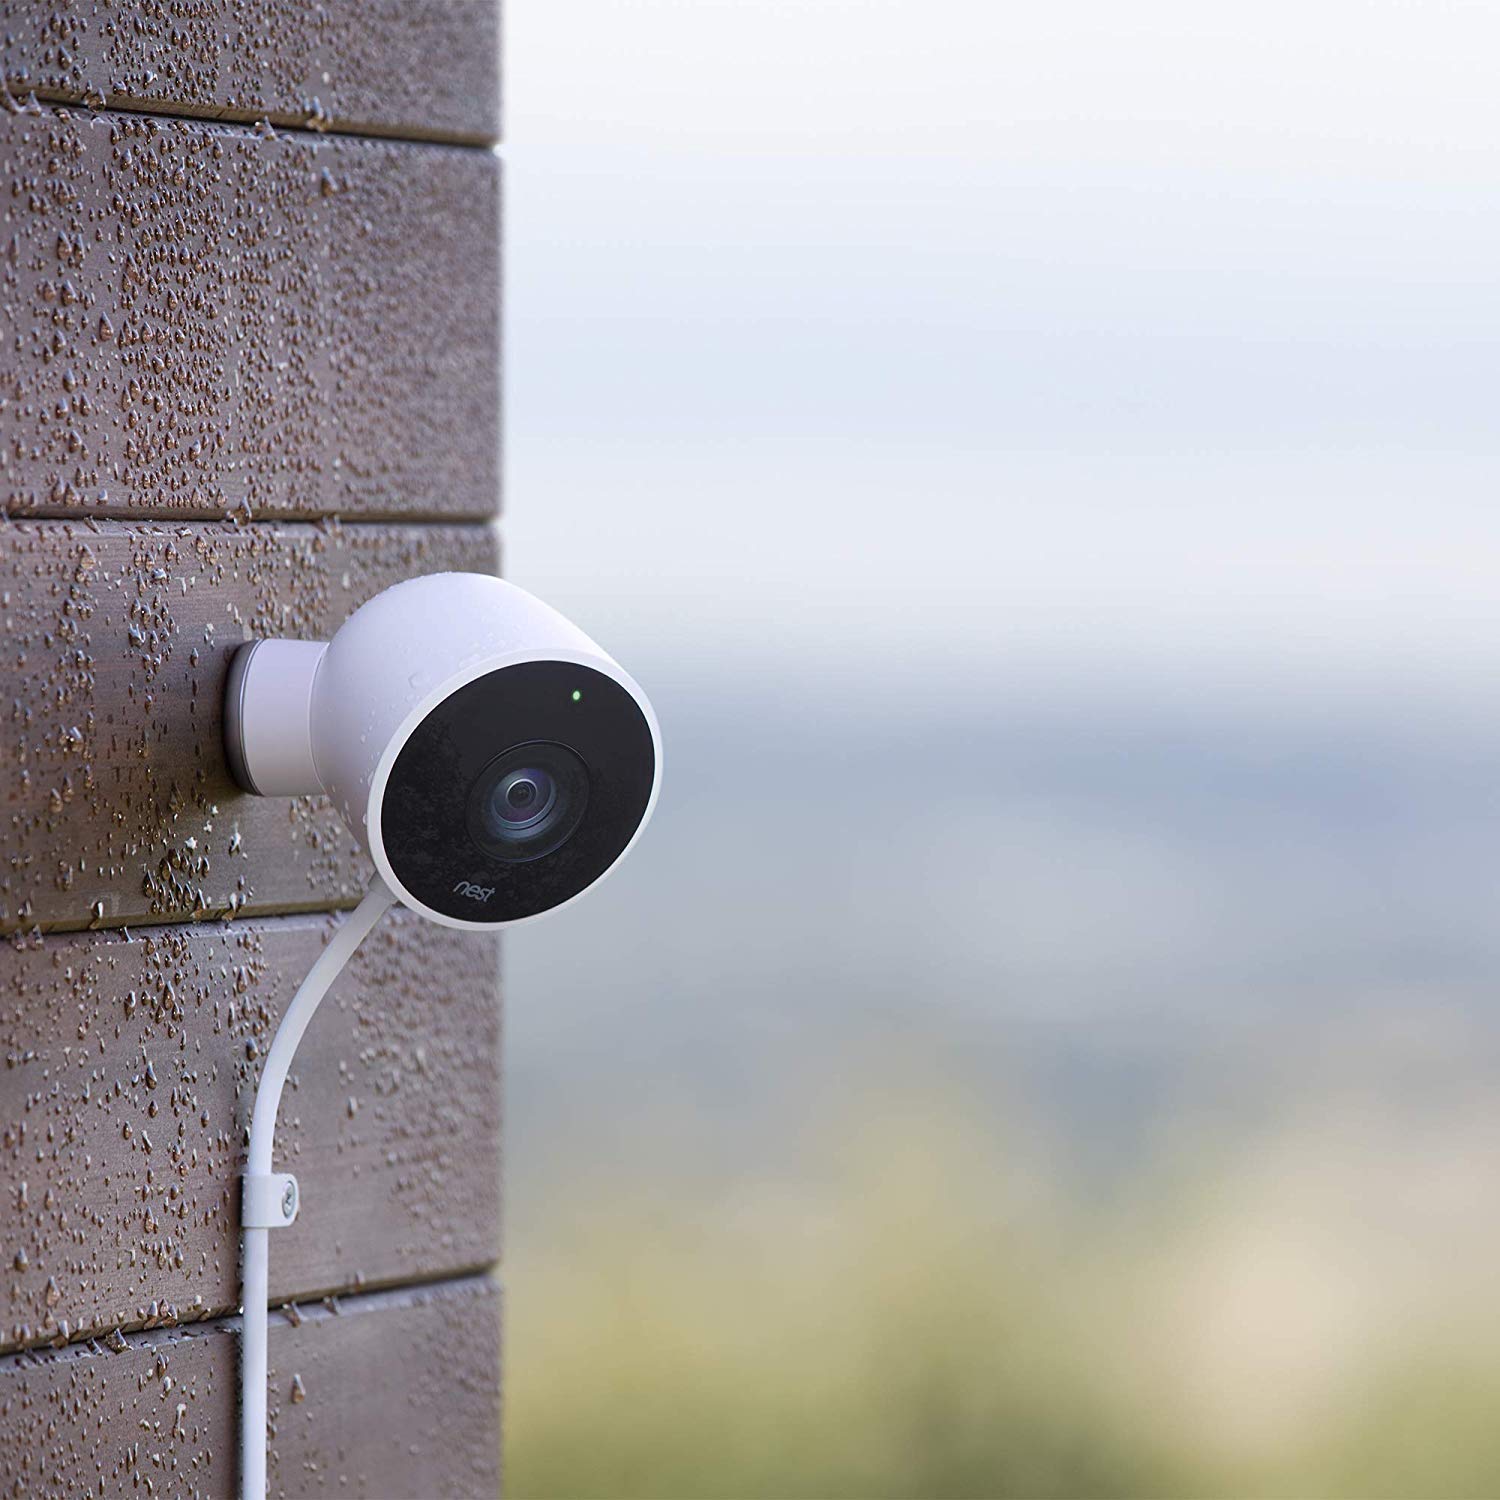
Image via Amazon
- Take out your tools.
- Survey the place where you want to install the camera to see if there are any metal surfaces you might apply the magnetic base of the camera to.
- If there is no metallic surface, you will need to install the wall plate. Use the drill to secure the plate onto stucco, wood or siding. Drilling through brick will require the use of the included anchors.
- Once the wall plate is secure, install the magnetic camera base.
- Mount the camera to the magnetic base.
- Aim the camera in the direction you want it to capture.
- Test the video stream on your phone or tablet.
- Adjust your camera as needed.
- To secure your camera, install a cable clip close to the base of the camera. Leave a small bit of cable to allow for the camera to be adjusted.
- Install cable clips along the route of the cable to secure it until it reaches the power adapter. The power adapter should be installed several feet off the ground to avoid water or snow.
- Install the wall mount for the power adapter.
- Secure the power adapter to the wall. It will snap on to the secure wall mount.
- Use the rest of the cable clips to secure the cable between the power adapter and the outdoor outlet.
- Install the last clip close to the power outlet to prevent accidental unplugging.
- Gather any extra cable with the provided velcro strap.
- Secure the camera plug by adding a padlock to the outdoor outlet box.
- Dust off the camera to finish the install.
Conclusion
Photo by Paweł Czerwiński on Unsplash
Installing the Nest Outdoor camera 2 pack is a relatively easy process. Taking the time to follow the steps we have outlined will ensure that your camera is ready to go once you dust it off. Some homeowners also like to take the time to paint the outdoor cables to match the color of the house for a more discrete placement. This is purely a cosmetic extra.
Once the cameras are placed, take some time to get to know the Nest app and Nest Aware. There are settings that work for most homeowners including enabling notifications when there is a disturbance at home. There are also features that allow you to capture video as needed. One feature we really liked was the ability to use the microphone on the camera to scare away intruders. Someone breaking into the house has no way of knowing if the voice they hear is miles away; instead they just leave!
The technology behind Nest Aware also serves as a great support for the outdoor cameras. We were not worried about getting a notification from the motion sensors every time the leaves fell or it snowed since the app can tell the difference between objects and people. For the most part, a notification from one of these cameras is spot-on as far as detecting activity or threats goes.
Once we noticed the magnetic base of the cameras, we realized how much easier installation could be for many homeowners. Finding a metal bracket on an awning meant not even needing to drill to put in the camera. While making a few drill holes really wasn’t that big of a deal, not having to make those holes is the easy route.
Featured Image via Amazon
