Table of Contents
*This post may contain affiliate links. As an Amazon Associate we earn from qualifying purchases.
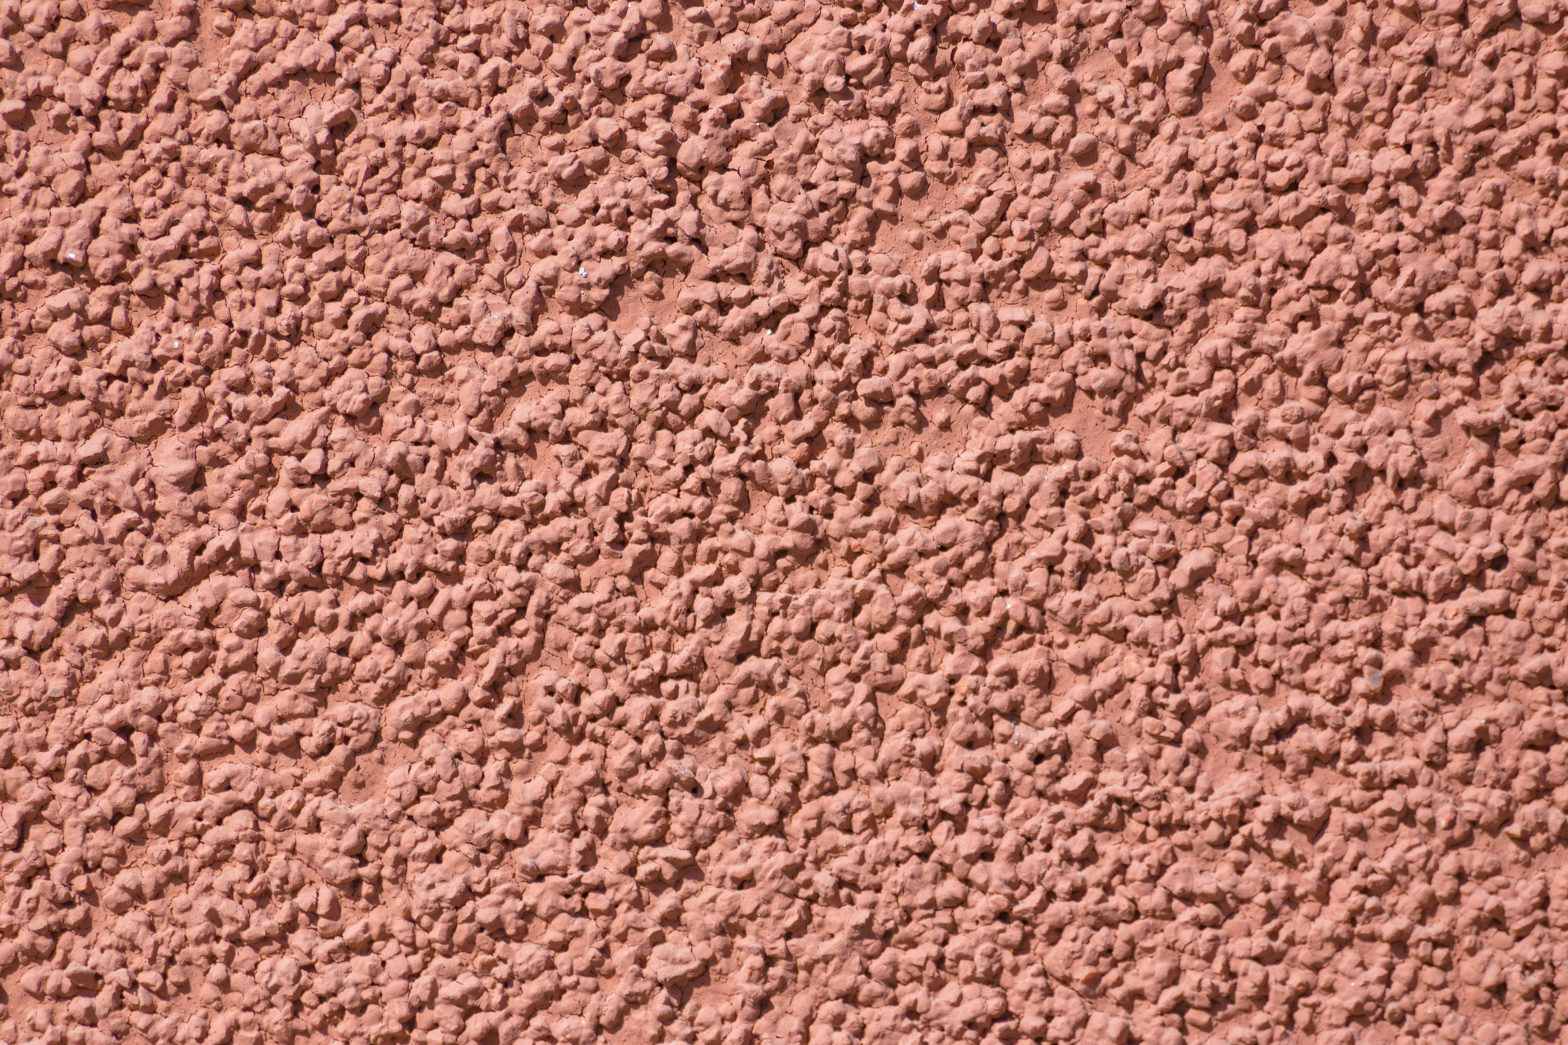
While popcorn ceilings were all the rage back in the ‘70s, it is more or less seen as an eyesore in homes today. Between it being hard to clean and difficult to repair, many people make a choice to have a popcorn ceiling removed during a home or room renovation.
While many will choose to have a professional come in and do the dirty work, some decided to go the DIY way and take on the project yourself. In some cases, the DIY method can help save some money; you want to make sure you are taking all the proper steps to getting the project done right.
6 Steps to Remove a Popcorn Ceiling Yourself
While some do it yourselfers believe that removing a popcorn ceiling is easy, in many cases, it is not, and it isn’t simply scraping the textures surface from your ceiling. In order to help you remove your popcorn ceiling right the first time, we’ve compiled a list of six steps to follow to help you minimize the stress of the project and ensure you get it done right the first time.
1. Scrape Test
Removing a popcorn ceiling may look easy, but there is more involved than simply scraping away the texture. What many don’t understand is that this texture was applied directly to the drywall, and unless you plan on replacing it all, you need to take things slow and easy.
The first thing you will want to do is perform a scrape test by taking a putty knife and first attempting to scrape some of the texture off while it’s dry. If it doesn’t come off easily, then it was either painted over or mixed with paint, making the task at hand much more difficult.
2. Test for Asbestos
While doing your scrape test, you’ll want to take a sample and have it tested for asbestos – a known cause of lung cancer. Any popcorn ceiling installed before 1980 has a chance to have asbestos, and you will want that taken care of by a professional.
3. Room Preparation
This can be the most time-consuming step of them all as you’ll want to cover your floors and walls with plastic drop cloths, along with any furniture you may not have removed from the room. You will also want to remove all ceiling futures and fans and make sure to protect any can light from water spray and cover any electrical boxes. Once you are ready, you will also want to turn off the power to the room.
4. Spray Small Section with a Pump Sprayer
While some people think it’s easier to dry scrape their popcorn ceilings, most people, professionals included, will choose to use a pump up sprayer with warm water and dishwashing soap to spray and soak small sections of the popcorn ceiling. Soaking it and allowing the mixture to soak for a few minutes will help make the removal easier.
5. Scrap Away
You’ll want to use a wide bladed tool, such as a floor scraper, to gently scrape away the popcorn texture. You want to take this step slowly to avoid gouging the drywall underneath. Work in small sections at a time to ensure you get this step done efficiently.
6. Final Repairs and Finishing Touches
Once you’ve removed all the popcorn texture, you will have to at the very least sand the surface to smooth it all out. And in most cases, you’ll have some small gouges and dings that will need to be filled in with joint compound before sanding.
Once all the repair work and sanding are completed, you’ll want to prime and paint the ceiling using a latex ceiling paint.
Should You Pay to Have A Popcorn Ceiling Removed?
Home DIY isn’t for everyone, so when should you consider having a professional remove your popcorn ceiling for you?
- If the Texture is pained on
- If asbestos was present in your test scrape sample
- If you have a large room
These are only some of the reasons you may want a professional to come in and do the job for you. So, what are the prices of having a popcorn ceiling removed?
According to Home Advisor, on average, the cost to remove a popcorn ceiling is anywhere from $1 to $2 per square foot, and on average, homeowners spend between $842 and $2,429 to have this project completed.
DIY Popcorn Ceiling Removal
If you aren’t looking to spend a lot to have your popcorn ceiling removed, then going the DIY route could help you save some money.
But remember, you want to take the time to do it right the first time.
Otherwise, you may end up spending more on repairs than you would have on merely having a professional handle it.


