Table of Contents
*This post may contain affiliate links. As an Amazon Associate we earn from qualifying purchases.
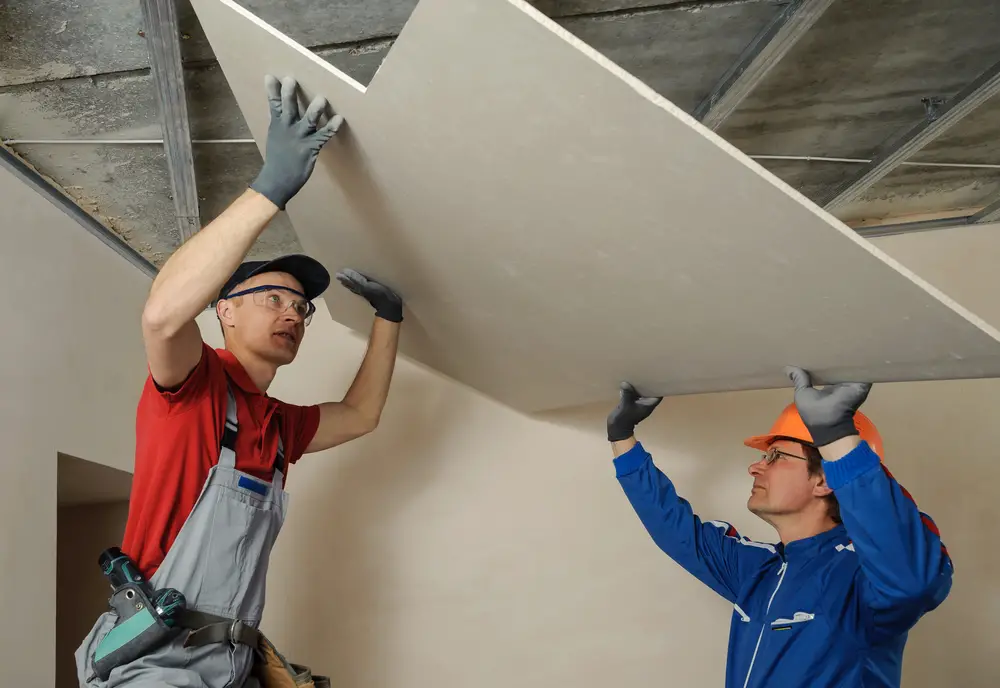
During the construction of a house or commercial building, walls are built by framing them with either wood or metal framing studs. Then, wallboard, or drywall, is attached to the studs to complete the wall. The type of drywall that is chosen will depend on the use of the room.
How Drywall is Made
All drywall is made from calcium sulfate dihydrate, otherwise known as gypsum. It is a mineral that is found in large beds that resemble white sand. However, impurities in the gypsum can also make it appear to be pink, gray, or yellow.
When gypsum is mined, it is sent to the factory where they pulverize it and then mix it with water and additives. The slurry mixture is then fed between sheets of paper on a board machine. As it goes down the line, the gypsum recrystallizes and hardens to its original state as rock.
As the boards continue down the line, the paper becomes bonded to the gypsum through both chemical and mechanical processes. The gypsum wallboard is then cut to length and moves through dryers to remove any remaining moisture.
Types of Drywall
There are seven basic types of drywall available for residential and commercial construction. Many of them are color-coded, so they are easily identifiable. The seven types of drywall include:
- Whiteboard
- Green board
- Blue board
- Purple board
- Paperless
- Type X
- Soundproof
Drywall is also known as sheetrock, plasterboard, or gypsum board.
White Board
Whiteboard, which is regular drywall, is white on one side and brown on the other. Its used building walls by attaching it to the framing studs and for ceilings.
Whiteboard comes in various thicknesses and lengths. The available thicknesses are:
- ¼”
- 3/8”
- ½”
- 5/8”
It is available in eight, nine, 10’ and 12’ lengths. The most common size chosen is a 4 x 8, which is readily available in home improvement stores and lumber yards.
Green Board
Green board is a moisture resistant drywall that is hung in bathrooms, laundry rooms, and kitchens. The drywall then becomes the backing for tiles around the sinks, bathtubs, or showers to help create a more water resistant barrier. Green board is available in ½” or 5/8” thicknesses and 8’, 10’ and 12’ lengths.
Blue Board
Blue board drywall is known as plaster base board, which is for veneer plastering. The paper on blue board has a special coating that allows plaster to adhere to the drywall. Usually, after drywall is hung, tape and joint compound are used to hide the gaps between drywall boards, as well as any dents where the nails or screws were placed.
Instead of joint compound, tape and plaster are applied to hide the gaps, and then one or two thin layers of plaster covers the drywall. The layers of plaster are about 1/8 inch thick. Although the plaster can be used to cover regular drywall, the wall would first need to be painted with a special orange primer.
Blue board is often hung in kitchens, bathrooms, or laundry rooms because it is moisture resistant and mold resistant as well. It is available in ½” or 5/8” thicknesses and 8’, 9’, 10’, and 12’ lengths.
Purple Board
Purple drywall is also moisture resistant, but it provides an enhanced moisture, mildew, and mold resistance than other types of drywall. It can be hung like regular drywall for walls and ceilings, but it’s best use is in rooms where moisture and mold resistance is necessary.
Purple board is a good bathroom wallboard as it can be installed around sinks, toilets, vanities, and as backsplashes in the kitchen. It is available in 1/2” and 5/8” thicknesses and 8’, 9’, 10’, and 12’ lengths.
Paperless Drywall
Instead of being bound to paper like other types of drywall, paperless drywall uses fiberglass to cover the gypsum. The fiberglass makes the drywall more mold, moisture, and mildew resistant than other forms of drywall, like the green, blue, or purple board.
The fiberglass makes it tougher than standard drywall, but many construction workers find it is easier to cut. Since there is a slight texture on the fiberglass surface, joint compound needs to cover the wallboard to help smooth it out before painting or covering it. It is available in lengths of 8’ and 12’, and thicknesses of ½” or 5/8”.
Type X Drywall
While gypsum has natural fire resistance, Type X drywall is made with glass fibers in the core of the gypsum to make it more fire resistant. In testing, regular 5/8” thick drywall takes about 10 to 15 minutes to fail in high heat. However, the same thickness Type X drywall takes 45 minutes to fail in the same amount of heat. Type X drywall is usually installed in apartments and garages.
There is another drywall that is more fire resistant called Firecode C board that is made with more glass fibers than Type X. When it was tested against Type X, it was able to burn more than two hours without signs of failure.
Sound Proof Drywall
If you have a room that needs soundproofing, such as home theater, family room, or a music room, then installing soundproof drywall can help reduce the sounds coming from the room. This type of drywall is laminate, and the gypsum contains wood fibers and polymers to reduce sound. It is denser, so it can be harder to cut than regular drywall.
How to Hang Drywall
Once you’ve chosen the type of drywall you need, you will need to know how to install, or hang, it. First, you will need the proper wallboard tools, which include:
- Utility Knife
- Drywall Knife
- Drill
- Drywall Saw
- Drywall Screws
- Measuring Tape
- Ring Drywall Nails
- Joint Knife
- Hammer or Nail Gun
- T-Square
You will also need some materials, including:
- Mesh Drywall Tape
- Joint Compound
- Construction Adhesive
Before you start hanging drywall, prepare the room by installing nail protector plates anywhere there are electrical or plumbing lines going through the walls. The plates will prevent drilling into them. Also, wear goggles, gloves, and a dust mask while working with drywall.
Hanging Drywall
To calculate how much drywall you will need for a room, calculate the square footage of all the walls and ceilings, then divide the result by 32. Always buy an extra sheet or two in case cutting mistakes are made.
When installing drywall, it should be hung horizontality, not vertically. So, the first piece needs to butt up against the ceiling panel, and the end should land in the middle of a stud. If not, it will need to be cut so that it does. Mark the locations of studs on the ceiling panels that have already been hung.
Step One:
Apply construction adhesive along the top stud and four feet down each vertical one. Using the adhesive will prevent nail heads from popping out by holding the panel in place.
Step Two:
Hold a piece of drywall, so it butts up against a ceiling panel and then, using a drill and drywall screws, put in a line of five screws through the drywall and into the stud.
Step Three:
Continue hanging panels across the wall, even over doors, windows, and electrical outlets. You can trim the excess after you finish hanging the drywall. Just make sure that no seams line up with a door or window corner.
Step Four:
After finishing going across the wall, add the next sheet of drywall under the first one you put up and continue hanging it horizontally. Leave about ½” between the drywall and the floor to allow the walls and floor to expand without damaging the drywall.
Step Five:
After hanging the drywall, go back and cut the excess from doorways, windows, and electrical outlets using a drywall saw.
How to Cut Drywall
When you need to cut drywall, hold a T-square against the piece you’re cutting to use as a guide. Then, with a utility knife, score the front of the panel and snap it back when you’re done. On the other side, cut the brown paper with the knife and the drywall should be nicely cut.
Applying Joint Compound
Once the drywall is hung, you need to cover the joints and the heads of the nails or screws with wallboard joint compound. To cover the gap between the drywall panels, use mesh drywall tape to cover the vertical and horizontal joints and the corners. Use a drywall knife to press the tape firmly into place, and you roll it out.
Do not let the tape overlap, but cut it and then continue covering the joint on the other side of the tape. When you’re done taping, apply pre-mixed joint compound with the drywall knife. Feather the edges to get the thinnest layer possible of the compound.
Once all the tape has been covered with the compound, use the drywall knife to apply the compound in a thin layer over the head of the fasteners. Allow the first layer to dry for 24 hours.
These instructions are just the basics for hanging drywall. By knowing how the basics about drywall and how to hang it, you can save yourself some time and money by completing home projects.
